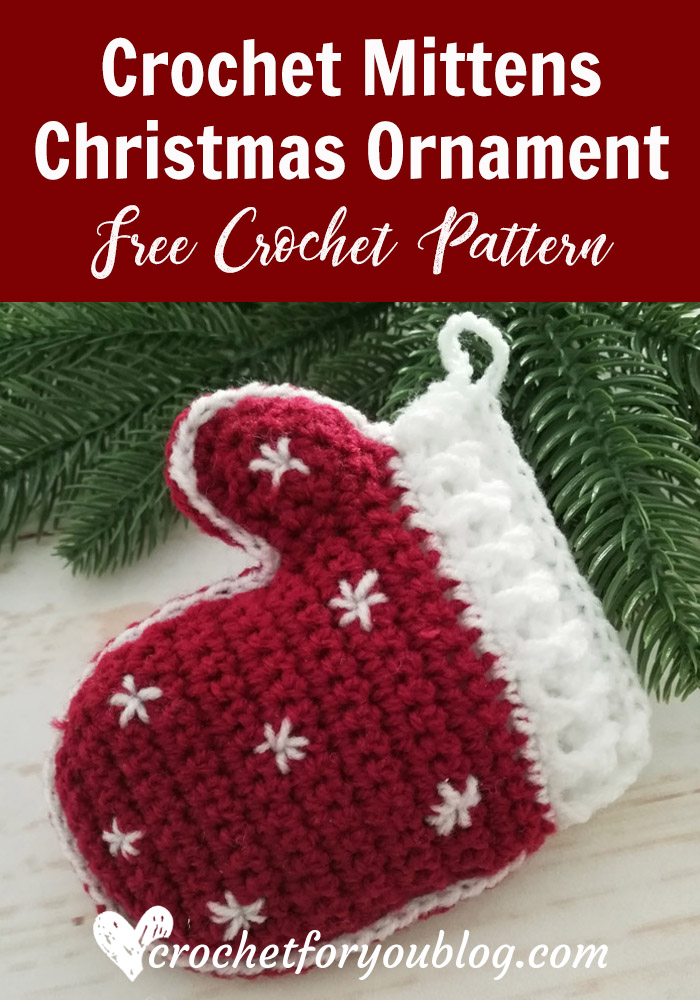
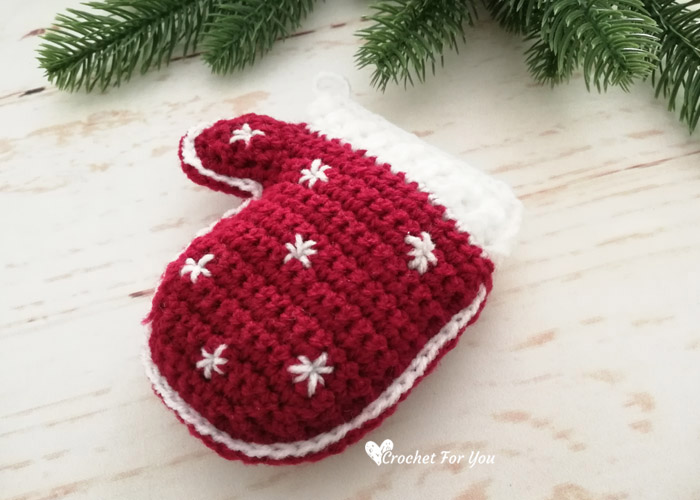
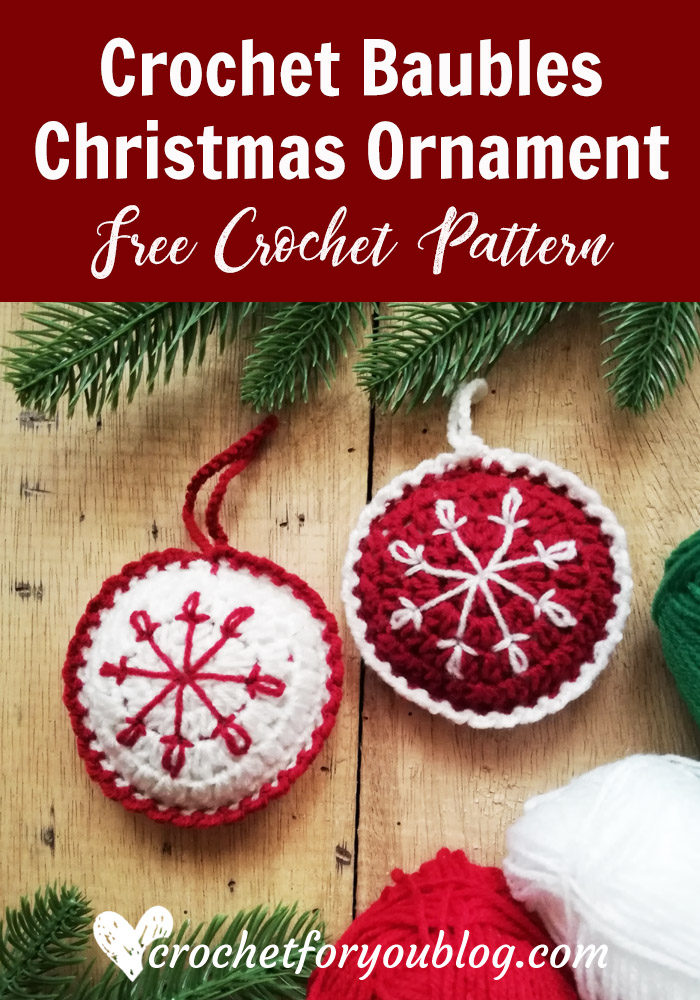
Crochet Mittens Christmas Ornament Free Pattern
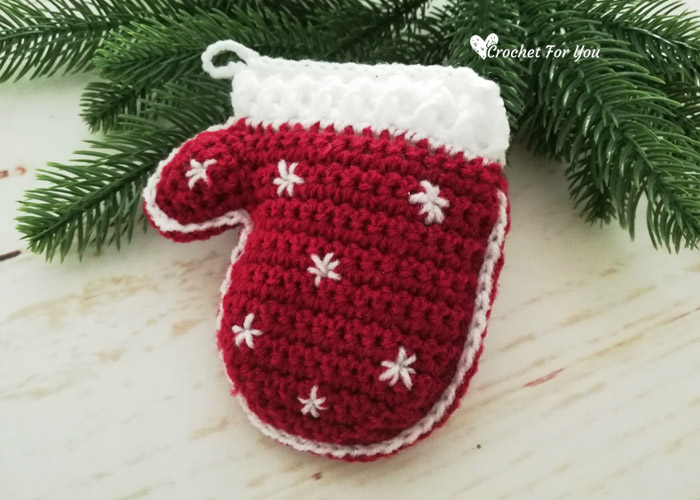
Crochet Mittens Christmas Ornament Pattern by Crochet For You
I hope you enjoyed the first week’s pattern of #XmasOrnamentMiniCAL. This week for another beautiful, small but cute Christmas ornament.
This Crochet Mittens Ornament features simple embroidery stitches to add a more decorative look. I hope you enjoy this week’s pattern as last week first pattern Crochet Snowman Christmas Ornament
Disclosure This blog contain affiliate links.
Add this pattern to Ravelry queue
Save Pinterest
If you are interested in this CAL….
- Click here to for the Intro post.
- Like Crochet For You FB page.
Sign up for the newsletterfor new updates on the blog
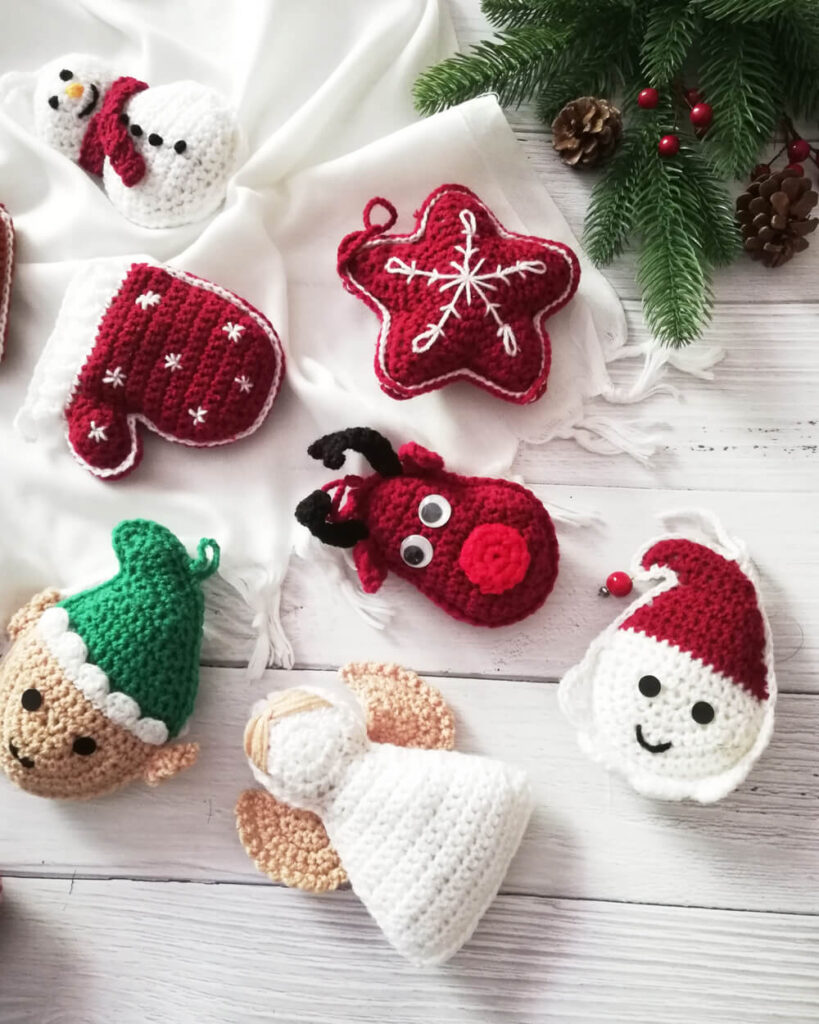
Did you Try other Christmas Ornaments of the #XmasOrnamentMiniCAL?
All the patterns are amigurumi type, but easy to make
Materials
- Sport or DK weight yarn in Red and White colors. (Approx: 50 yards total)
- US G-6 / 4mm crochet hook
- Fiberfill
- Tapestry needle, scissors
Abbreviations (US Term)
- ch = chain
- sc = single crochet
- st = stitch
- sl st = slip stitch
- fpdc = front post double crochet
- bpdc = back post double cochet
- beg = beginning
- (C1) = color 1 (red)
- (C2) = color 2 (white)
- *to; = repeat * to the instructions.
Special stitches
Sc2tog = [Insert hook in next st and draw up a loop] 2 times, yarn over, pull back through all 3 loops on hook at once.
Helpful Recourses for sewing Embroidery on crochet
Notes
- Beg ch does not count as st.
- Less than 50 yards required for this pattern.
Crochet Mittens Christmas Ornament
(Make 2)
with (C1), crochet, ch 18,
Row 1: sc in 2nd ch from the hook, sc in each st across, turn. (17 sts)
Row 2: ch 1, sc in first st, sc in each of next 14 sts, 2 sc in each of next 2 sts, turn. (19 sts)
Row 3: ch 1, 2 sc in first st, sc in each of next 2 sts, 2 sc in next st, sc in each of next 15 sts, turn. (21 sts)
Row 4: ch 1, sc in first st, sc in each of next 14 sts, turn. (15 sts)
Row 5-13: repeat row 4.
Row 14: ch 1, sc in first st, sc2tog, sc in each of next 9 sts, sc2tog, sc in last st, turn. (13 sts including sc2tog)
Row 15: ch 1, sc in first st, sc2tog, sc in each of next 7 sts, sc2tog, sc in last st, turn. (11 sts including sc2tog)
Row 16: ch 1, sc in first st, sc2tog, sc in each of next 5 sts, sc2tog, sc in last st, turn. (9 sts including sc2tog)
Row 17: ch 1, sc in first st, sc2tog, sc in each of next 3 sts, sc2tog, sc in last st, turn. (7 sts including sc2tog) Fasten off.
Thumb Part
(start at the one of first skipped st)
Row 1: ch 1, sc in first st, sc in each st across, turn. (6 sts)
Row 2: ch 1, sc in first st, [sc2tog] 2 times, sc in next st, turn. (4 sts including sc2tog)
Row 3: ch 1, sc in first st, sc2tog, sc in next st, turn. (3 sts including sc2tog)
Row 4: ch 1, sc in first st, sc in each of next 2 sts, fasten off. (3 sts)
(sc around the edge)
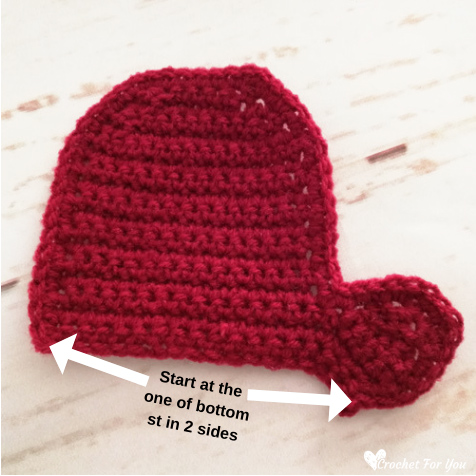
Crochet sc around the edge except on the straight edge. Start at the corner st at the bottom (thumb side or other side of the mitten).
Crochet sc in each st around the mitten except straight side and crochet randomly 2 sc in same st especially on the curve side to make a smooth edge, stop at the other side corner st at the bottom, (do not forget to crochet the same number of stitches on both pieces and leave the straight edge unworked). Fasten off and weave the end.
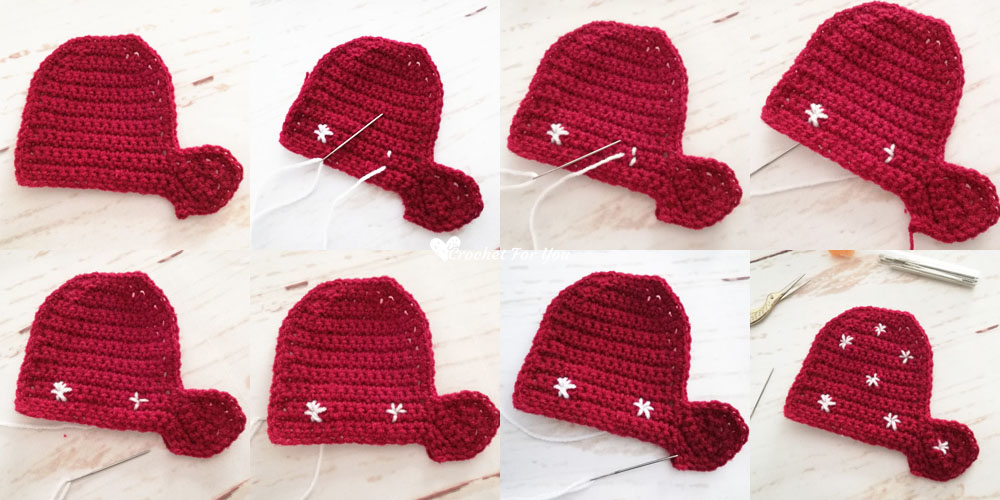
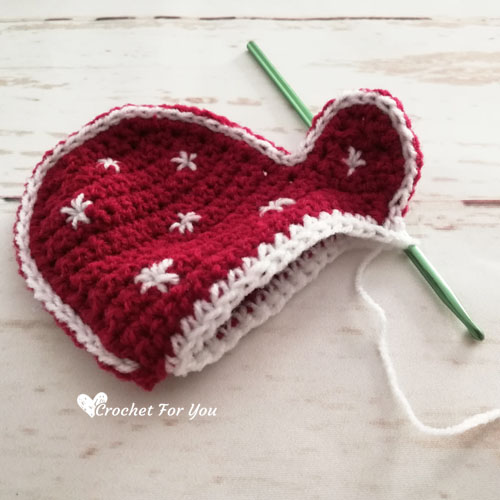
Embroider stars
Sew straight 8 lines tiny stars on both pieces with (C2) yarn.
Helpful Recourses for sewing Embroidery on crochet
Joining two pieces together
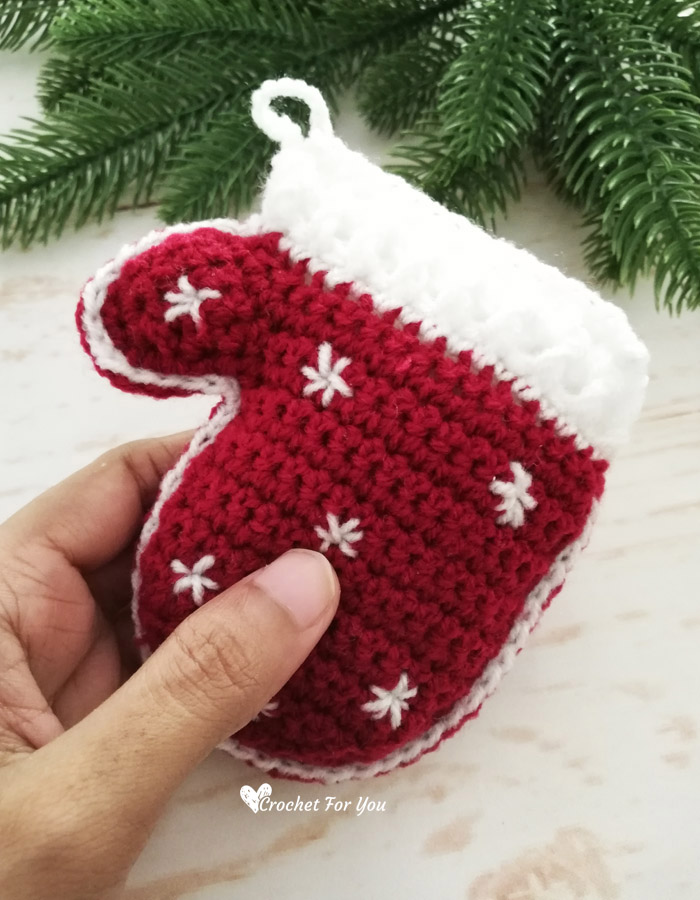
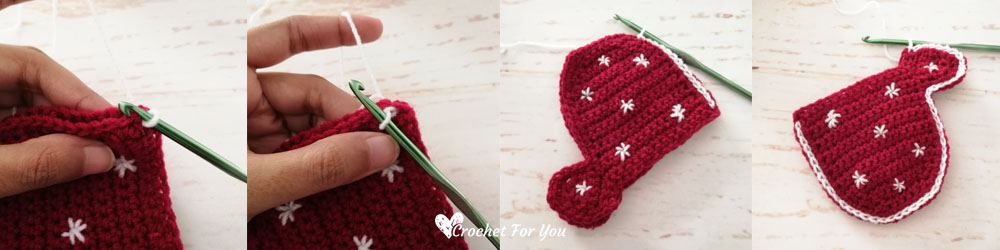
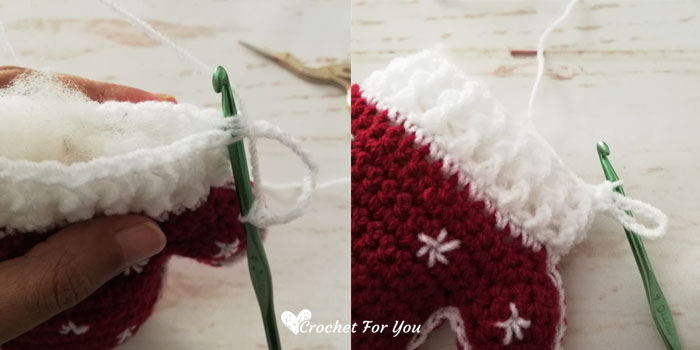
Holding the two pieces together right side out, with (C2) yarn, crochet slip stitch (sl st) around only on the previous round on both pieces, (do not forget to start and end joining corner st at the bottom and leave the straight side open (image 4)),
How to crochet slip stitch around the edge?
Insert the hook in the first st of the previous round. yarn over, pull up a loop through st and the loop on the hook, *insert the hook in next st, yarn over, pull up a loop through st and the loop on the hook; repeat * to around the curve edge, (see photo collage above)
Do not fasten off, start to crochet around the straight edge/open side.
Cuff
(crochet around the straight edge/open side)
Round 1: with (C2) yarn, start at row 1 of the mittens, ch 1, sc in each st around the open side, sl st to the first st. (34 sts)
Round 2: ch 2, fpdc in first st, *bpdc in next st, fpdc in next st; repeat * to around, sl st to the first st. (34 sts total)
Round 3: repeat round 2.
Close the mitten top and finishing
ch 12, insert the hook through the first sts on both sides at once and make sc (made a loop), * crochet sc across by inserting the hook through the sts on both sides at once, add fiberfill while joining. Don’t forget to fill lightly. Fasten off and weave the end. (17 sts total)
See you next week with another pattern of #XmasOrnamentMiniCAL
Hope to see you soon with a new FREE pattern
Until then, Happy Crocheting!!
Share your finished projects of this pattern on Crochet For You FB page.
Happy hooking with Crochet For You!!
Let’s connect and share
Facebook | Pinterest | Twitter | Instagram
All contents include photography and patterns are copyrighted Crochet For You by Erangi Udeshika.
Do not copy, edit, distribute or republish patterns and images in this blog in part or whole as your own. Please, share a direct link to the pattern with others and anywhere else. You are welcome to make and sell finished items using my patterns.
Visit Copyright / Terms of use for more info.
Thank you.

7 Comments
Anna
This is just adorable. Thank you for the pattern.
Erangi Udeshika
You are welcome! 🙂
Marlene
I love these mittens. Next Christmas I plan on making these mittens for my 4 year old granddaughters. I will add a few more rows at the wrist before I start the white cuffs and not stuff them with filling. Instead I will put a candy cane and wrapped Christmas candy into the mitten. For Christmas dinner I will put a mitten at each of their place settings. This Grandma finds it a joy to make memories with her grandchildren!!! What better way than to make it with my own hands.
Erangi Udeshika
Hi Marlene, it’s a great idea and I hope they will LOVE it. 😀 Thanks for sharing!!
Elizabeth Banet
I am making these to use a place markers for our family Christmas dinner. I am also making small stockings. I am planning on leaving them open and putting a candy cane with each person’s name inside. Thank you for this pattern.
Dawn Lynn Hochstein
Hi. I love the thought of these little mittens! I am having trouble with the thumb part. I there any way that you could show me where exactly I am suppose to start the first sc for the thumb. Thank you.
Erangi Udeshika
Hi Dawn, thumb part starts at the unworked st in row 4. 🙂