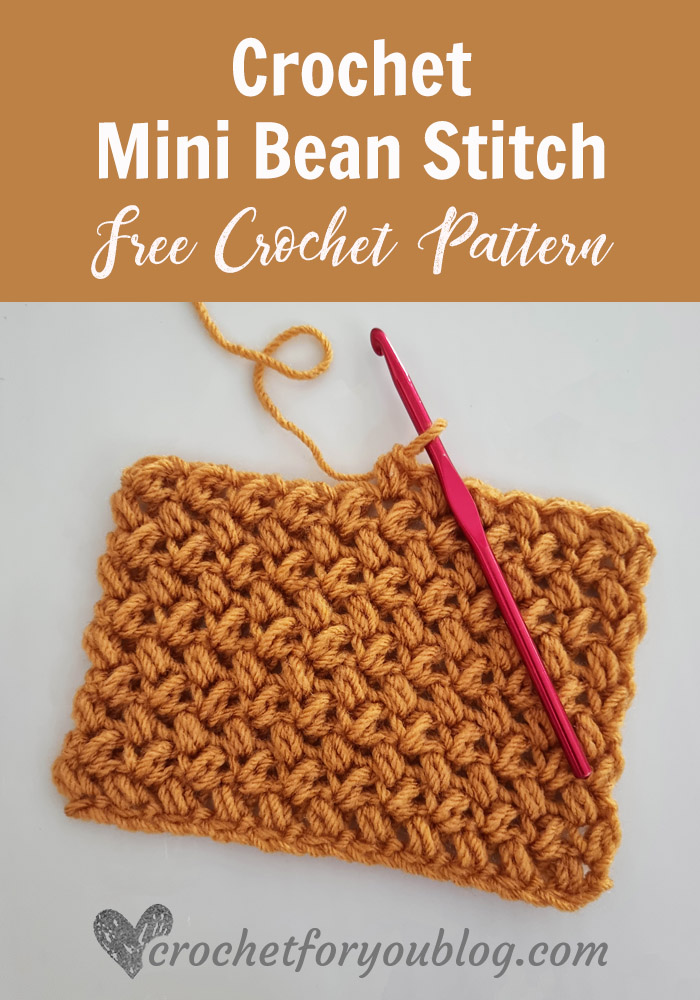
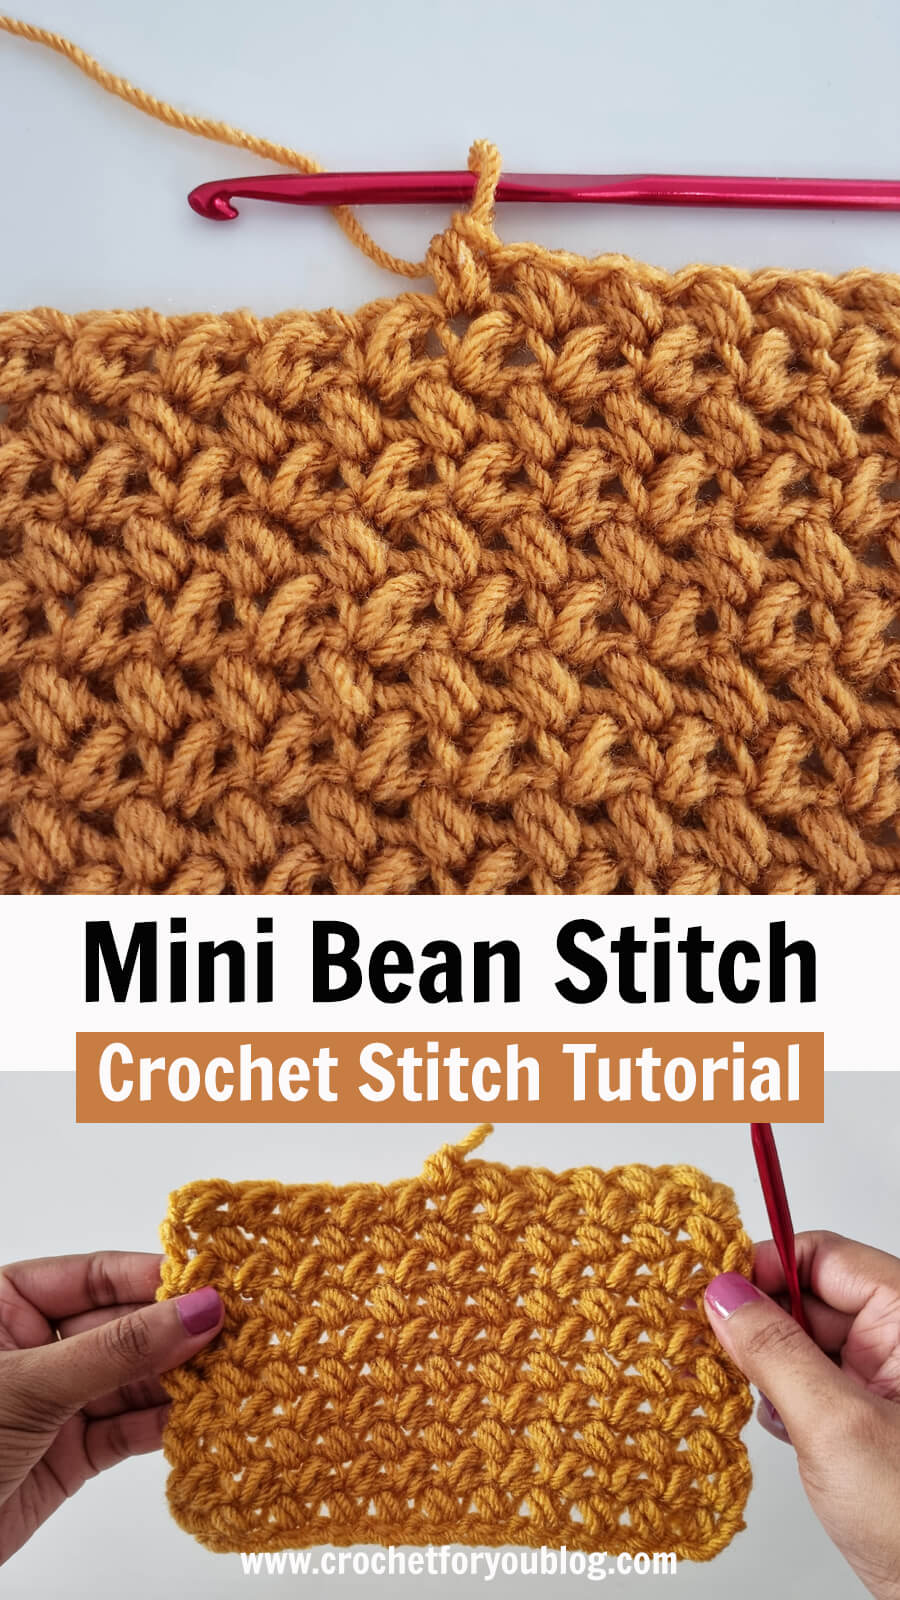
How to Crochet Mini Bean Stitch (Elizabeth Stitch)
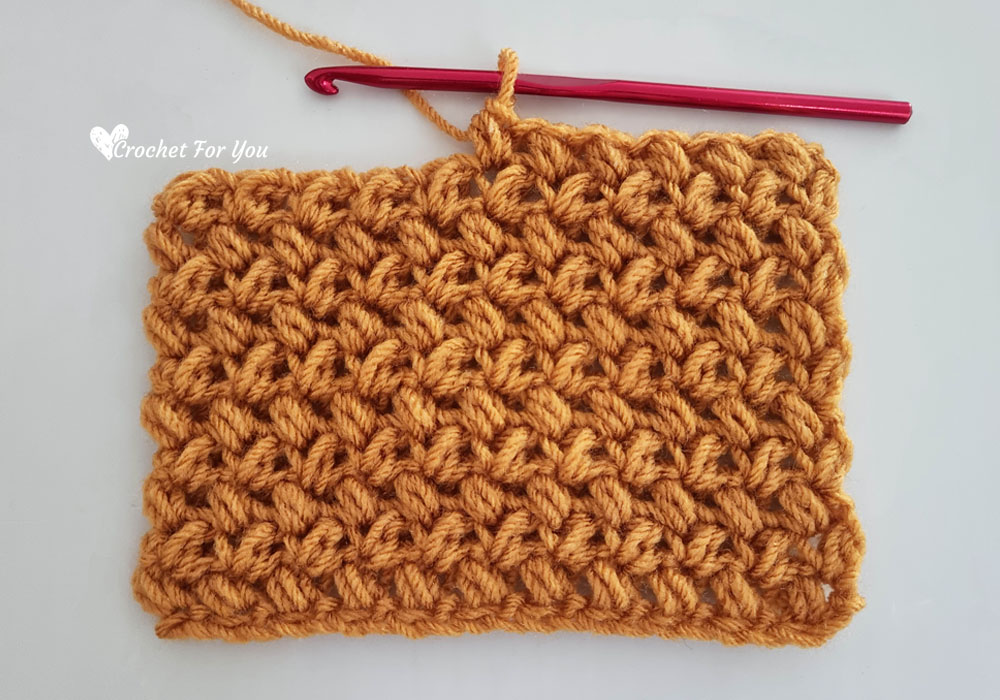
Crochet Mini Bean Stitch is quick and easy to learn. It’s also known as Elizabeth Stitch.
If you are a beginner to crochet and want to learn a new stitch, this tutorial will help you to learn how to crochet mini bean stitch with step by step photos and video tutorial.
Whether you are looking for a way to take your projects to the next level or just wanting to learn something new, the crochet mini bean stitch is an excellent choice.
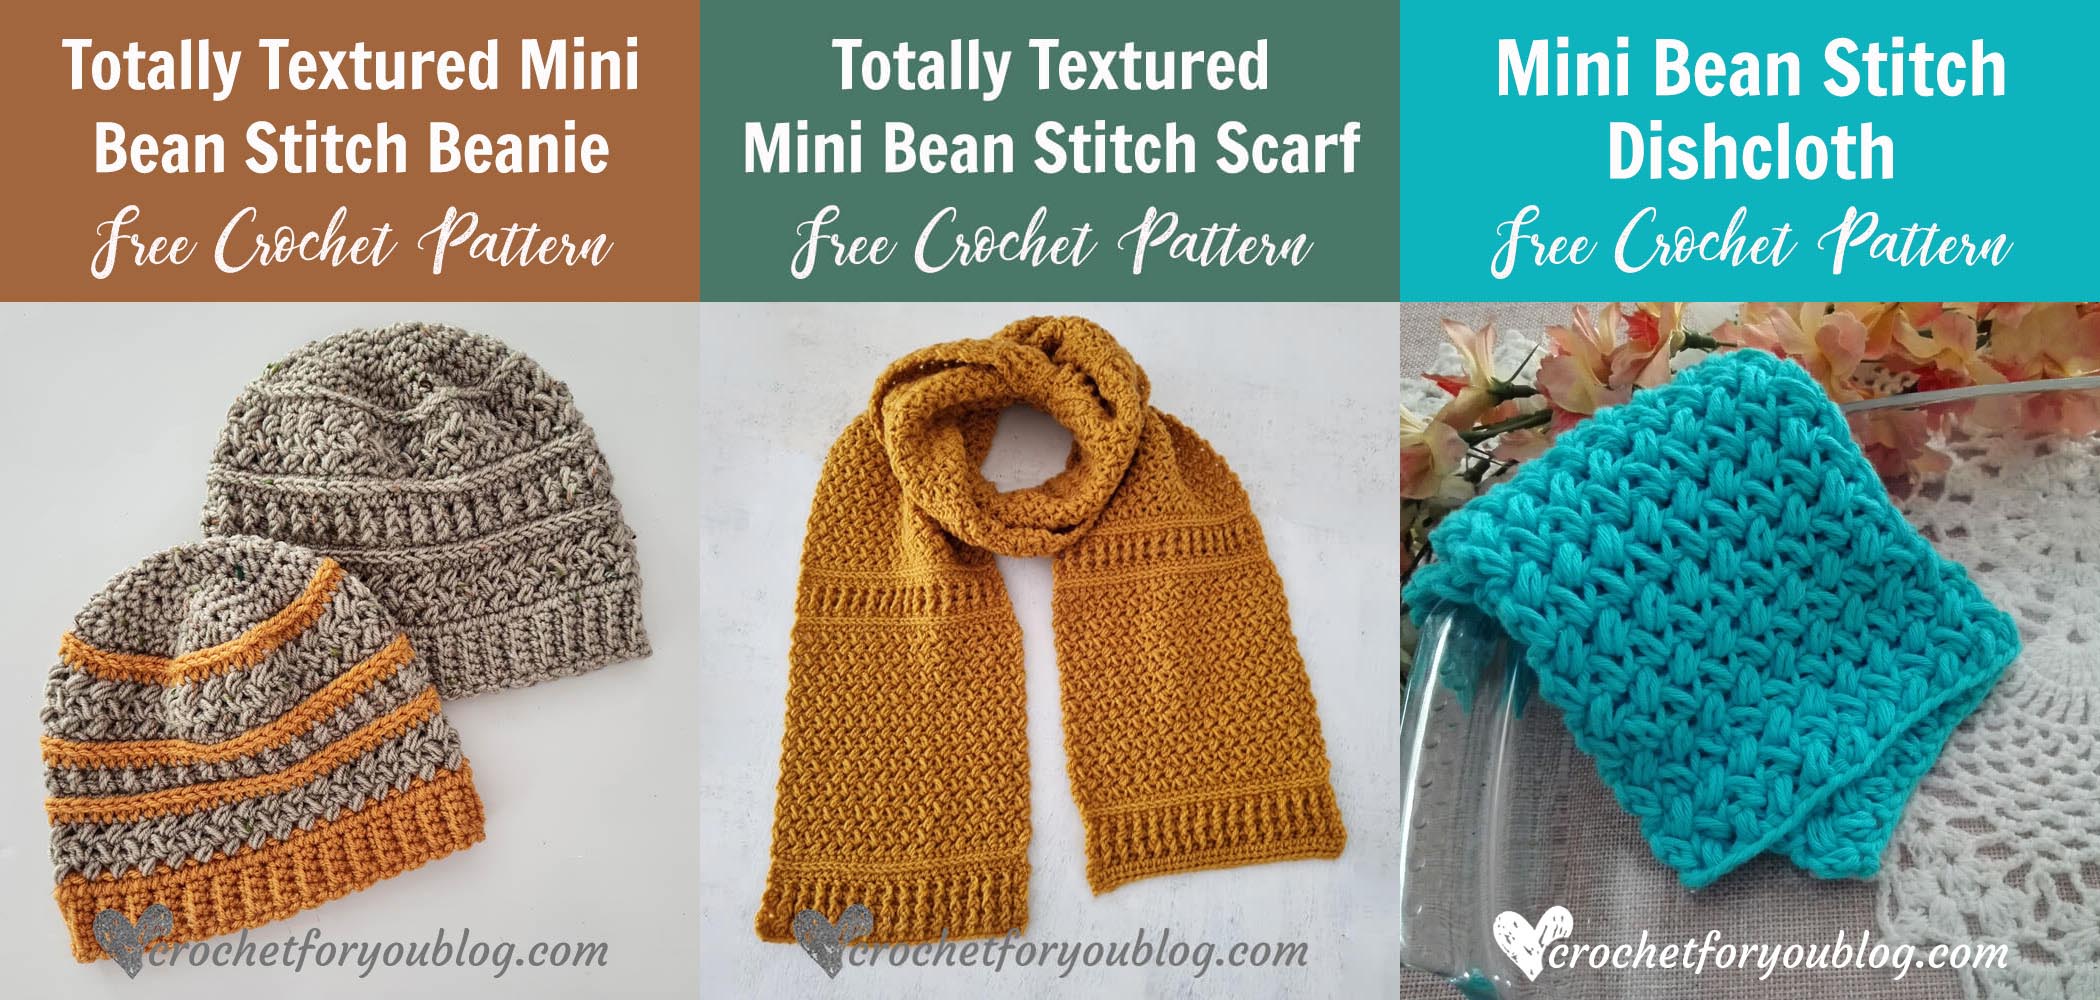
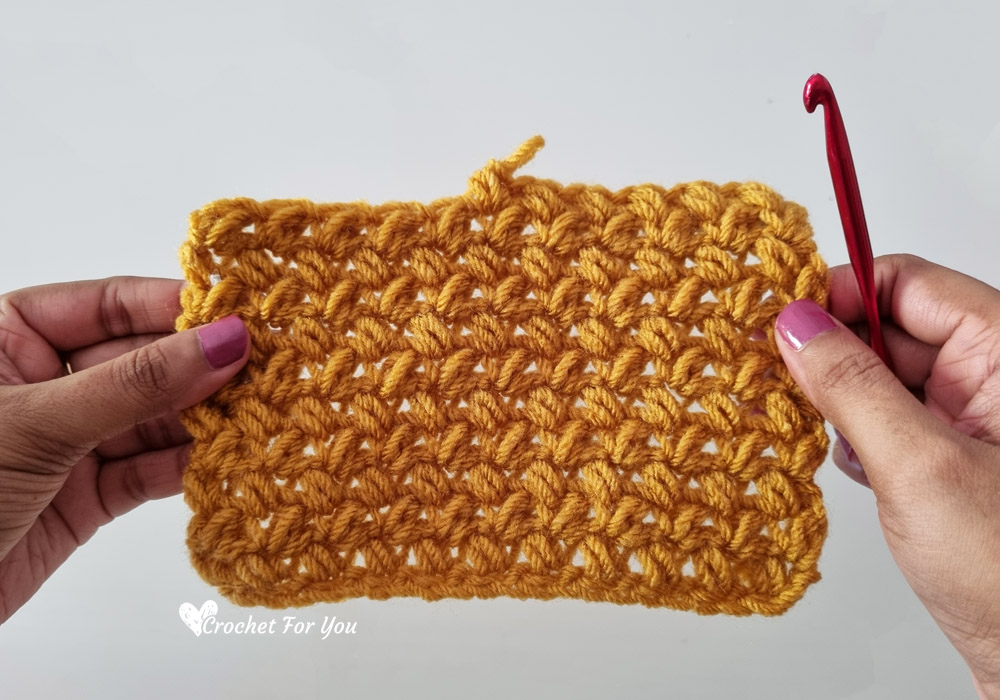
The texture of mini bean crochet stitch can be used to create a variety of patterns. And great for crocheting scarves, wash clothes, blankets and more. Check out the patterns I made below for more inspiration.
Save on Pinterest
Watch the video tutorial
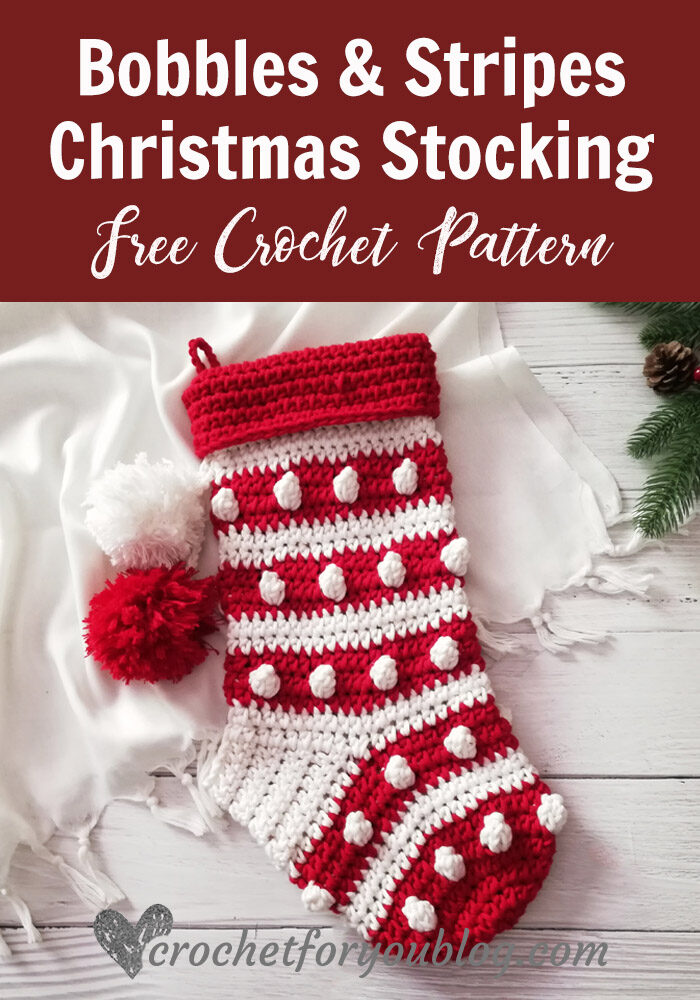
See how this Bobbles & Stripes are used in crochet projects
Mini Bean Stitch Beanie / Mini Bean Stitch Scarf / Mini Bean Stitch Dishcloth
You will need
Any weight of yarns you wish to use and recommended hook size for the yarn weight you selected. You can make this with solid or multiple colors.
I used
- #4-Medium / Worsted / 100% Acrylic yarns
- US 1-9, 5.5mm crochet hook
And other essential materials and tools like
- Scissors
- Stitch markers
- Measuring tape and
- Yarn needle for weaving ends.
Watch the video tutorial
How to Crochet Mini Bean Stitch
Row 1
Crochet chain multiple of 2 + 1 for foundation chains.
Insert the hook in 3rd ch from the hook (image 2), yarn over and pull up a loop (image 3), yarn over, insert the hook again in same stitch, yarn over, pull up a loop (4 loops on the hook) (image 4), yarn over, pull through all the loops on the hook (image 5), ch 1 for close the stitch (image 6).
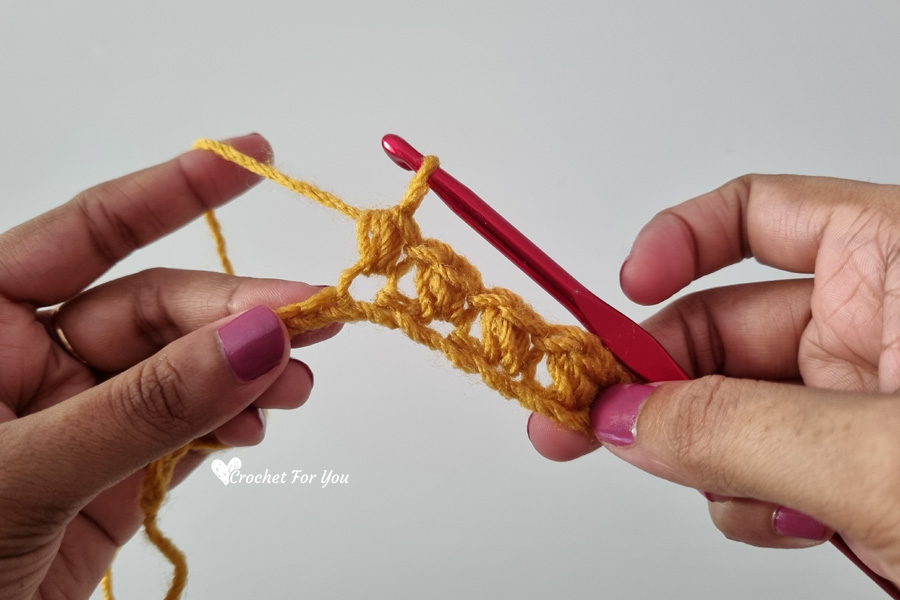
One Mini Bean Stitch is done!
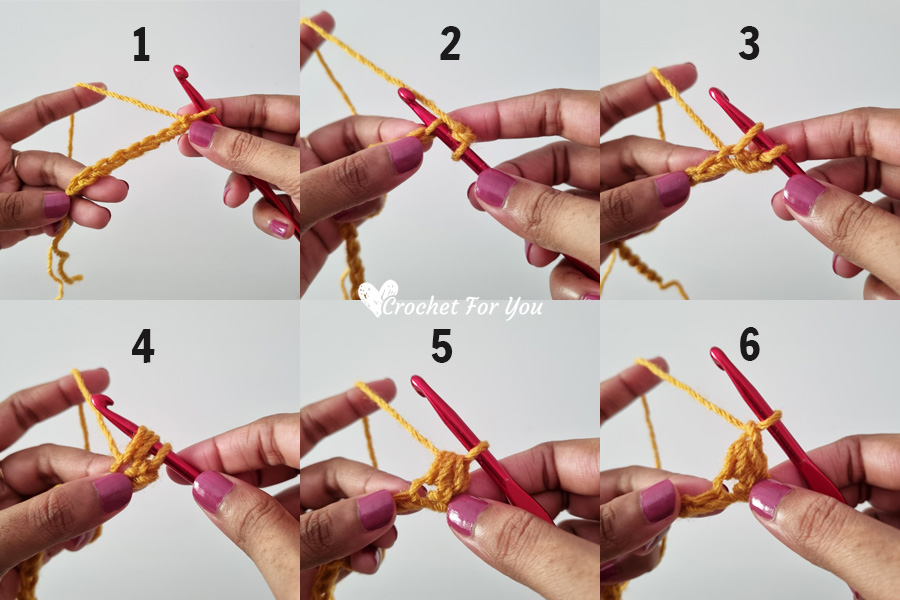
*skip next foundation chain and insert the hook in next chain, yarn over and pull up a loop (image 3), yarn over, insert the hook again in same stitch, yarn over, pull up a loop (4 loops on the hook) (image 4), yarn over, pull through all the loops on the hook (image 5), ch 1 for close the stitch (image 6); repeat * to the end of the row.
Row 2
Chain 1 again and turn the work to start the next row. (there will be chains 2 with the stitch close chain and the turning chain)
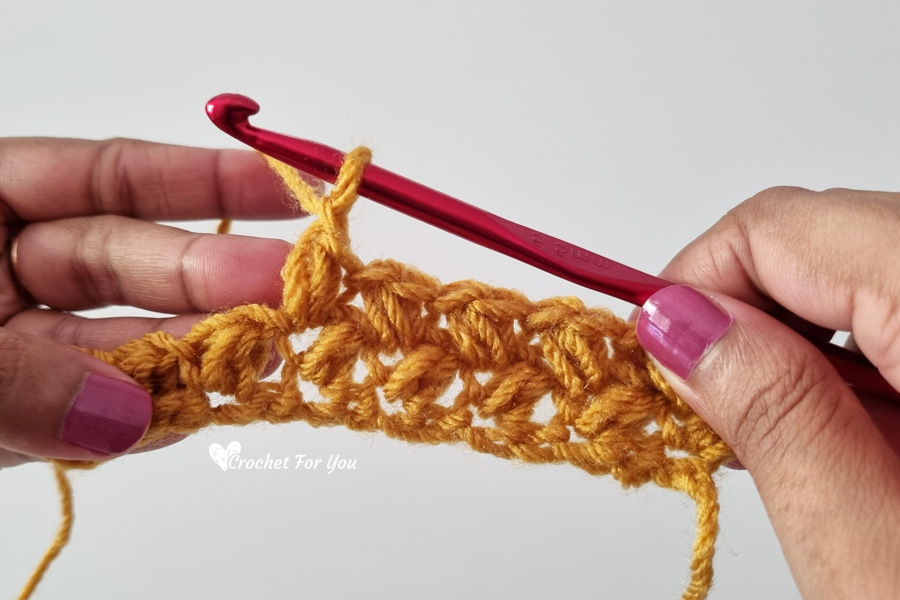
*Insert the hook into the side of the next stitch. (into the small space at the side of the previous MB st) (image 8), yarn over and pull up a loop (image 9), yarn over, insert the hook again in same stitch, yarn over, pull up a loop (4 loops on the hook) (image 10), yarn over, pull through all the loops on the hook (image 11), ch 1 for close the stitch (image 12); repeat * to the end of the row.
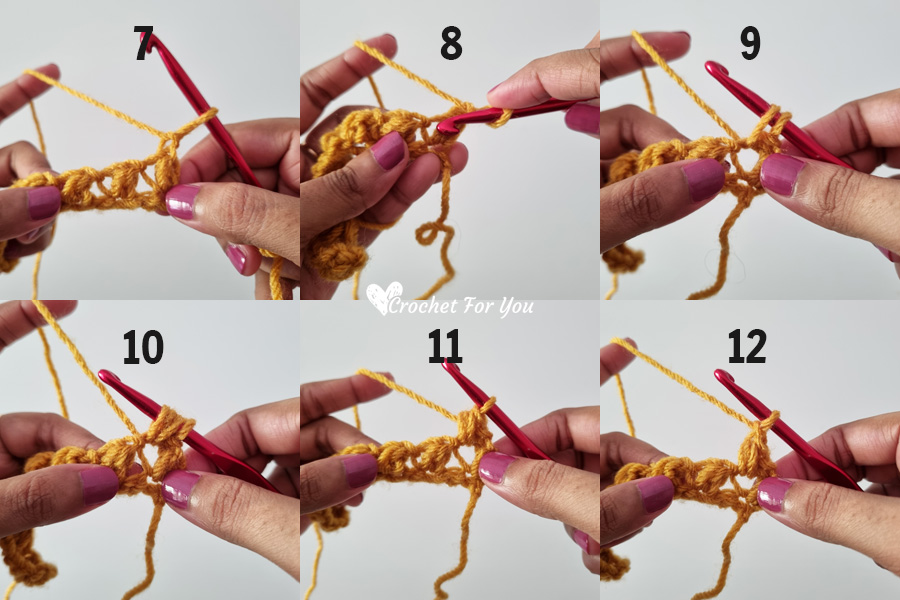
Repeat row 2 until you have your desired length.
Hope to see you soon with a new FREE pattern
Until then, Happy Crocheting!!
Share your finished projects of this pattern on Crochet For You FB page.
Happy hooking with Crochet For You!!
Let’s connect and share
Facebook| Pinterest | Twitter | Instagram
All contents include photography and patterns are copyrighted Crochet For You by
Erangi Udeshika.
Do not copy, edit, distribute or republish patterns and images in this blog in part or whole as your own. Please, share a direct link to the pattern with others and anywhere else. You are welcome to make and sell finished items using my patterns.
Visit Copyright / Terms of use for more info.
Thank you.