Crochet Fluffy Bear Earflap Beanie Free Pattern
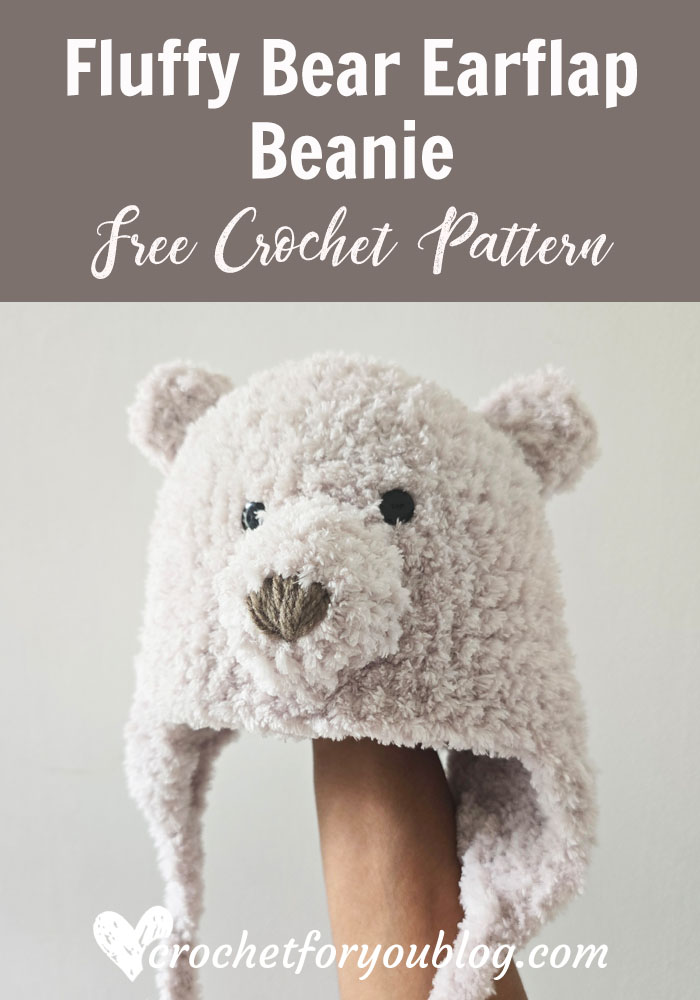
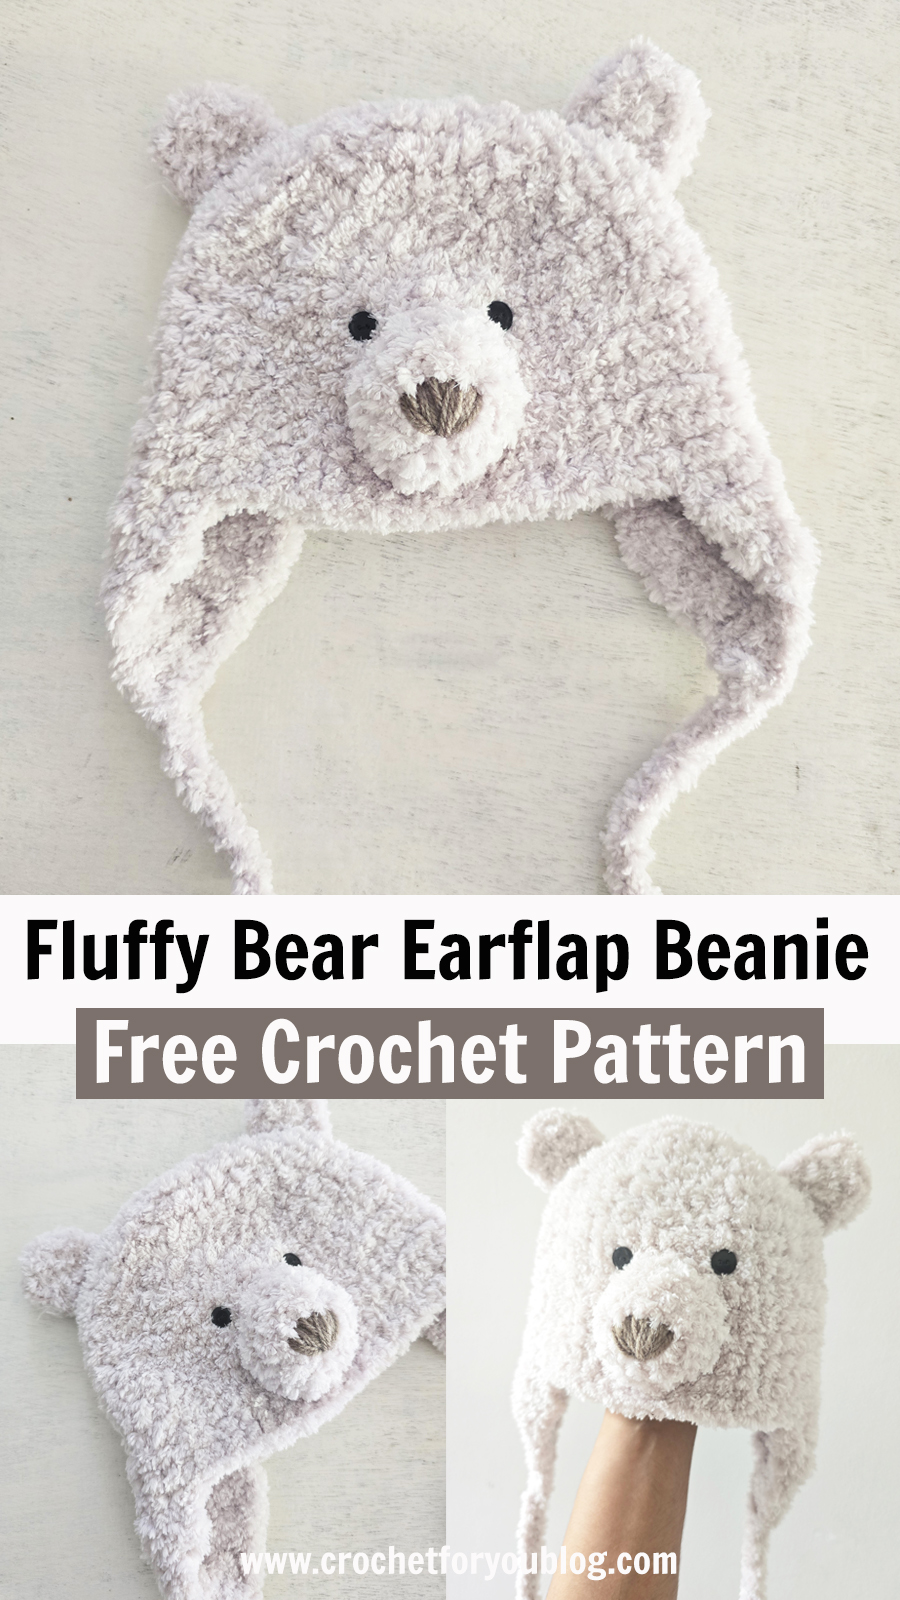
I am so excited to share my latest winter project with you all! The Crochet Fluffy Bear Earflap Beanie is a child-size pattern designed with soft, fluffy yarn to keep little ones extra warm and cozy when the temperature drops.
Add this pattern to Ravelry queue
Save on Pinterest
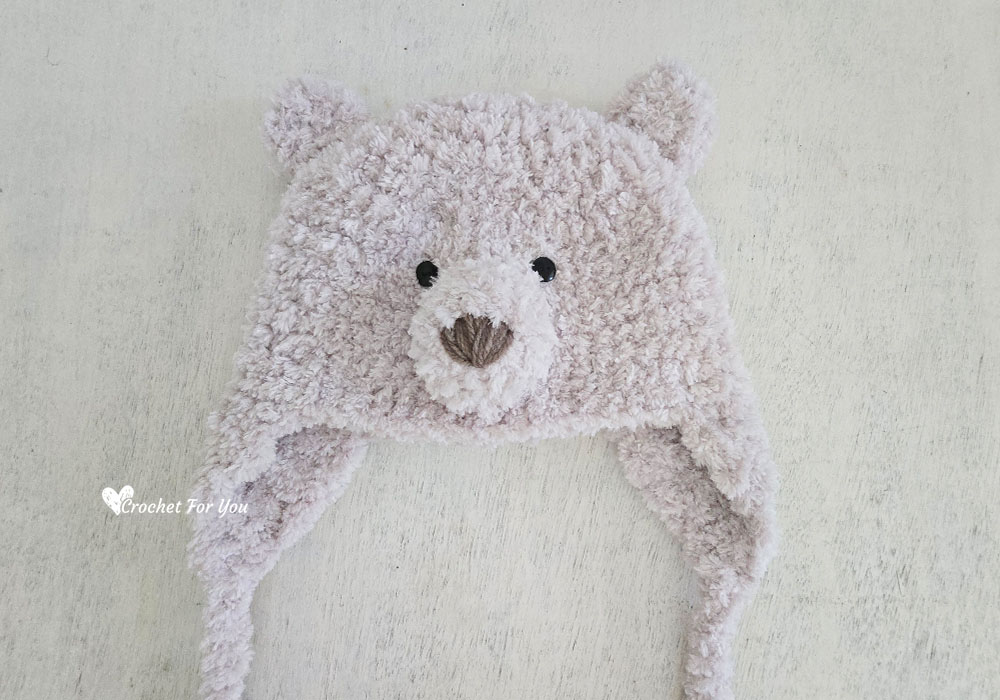
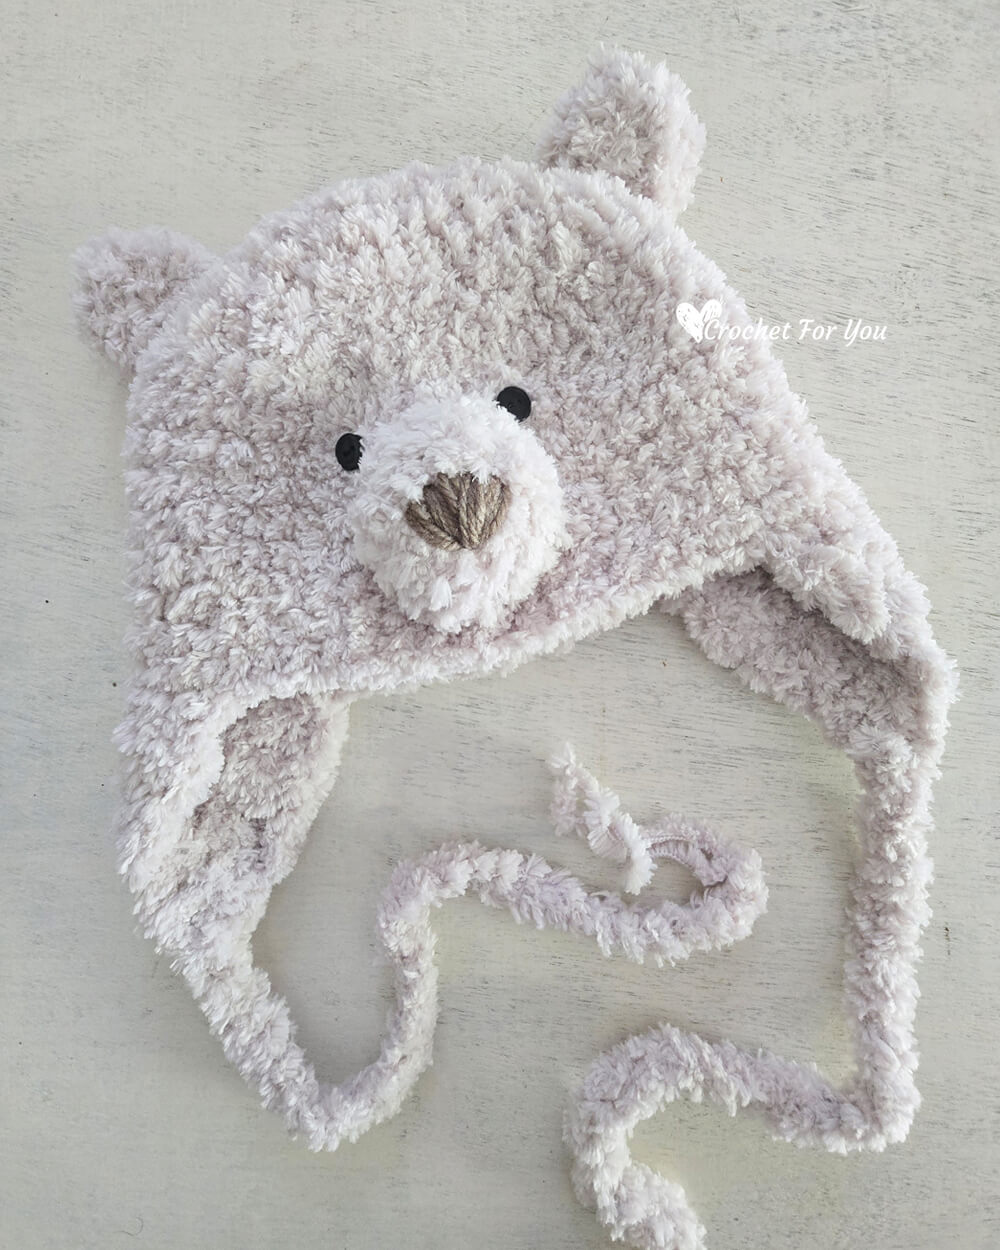
This crochet animal hat features sweet little ears, a cute 3D snout, and snug earflaps. This winter project is a wonderful, heartwarming gift for animal lovers during the cold season. Crocheting with fluffy yarn gives it a realistic animal look while providing maximum warmth and comfort.
- When working with fluffy yarn it is hard to see the stitches you previously made. You can feel the stitch by poking fingers through the stitches.
- I didn’t try to insert the hook in 2 loops on the fluffy stitches. Insert any loop (front loop or back loop) you grabbed by the feel, not sight.
- When working with fluffy yarn, I recommend you to pick the hook size on the yarn label. Make your stitches loosely than your normal stitches. But you can change the hook size if you want.
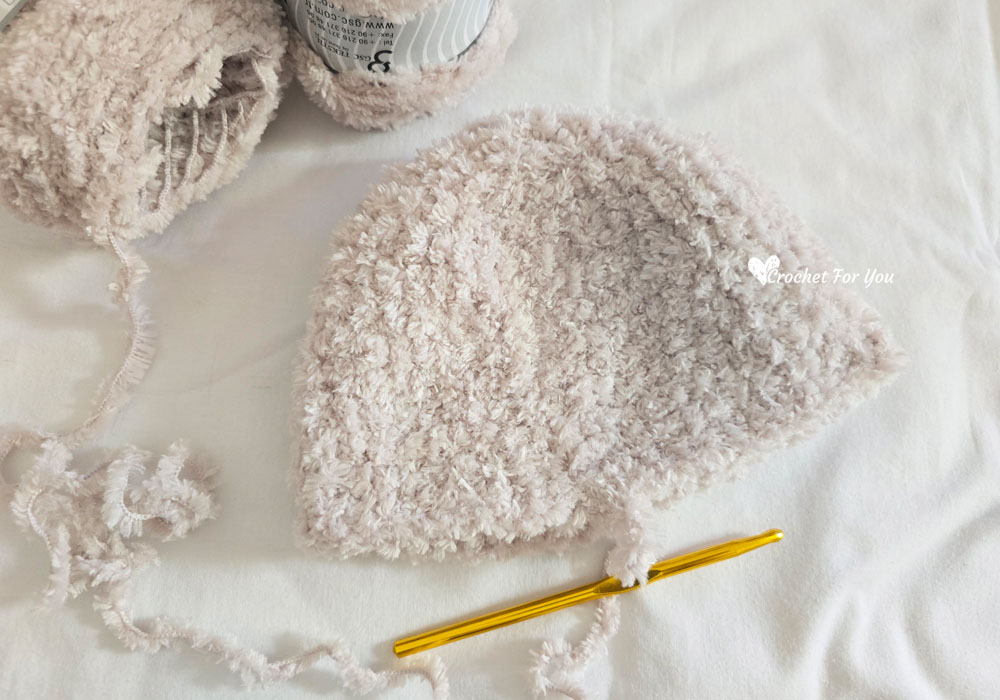
Crochet Fluffy Bear Earflap Beanie Pattern
Skill level: Intermediate
Finished size:
- Child – Crown 6″ / 17″-18″ circumference / 7″ height without earflap
Materials: 6-Super Bulky / Bulky, Roving / 100% Micro Fiber / Approx: 109 yards.
(I used)
- One skein of Ice Yarns Cakes Panda – Light Beige
- US J-10 / 6mm crochet hook
- Tapestry needle for weaving ends
- Small amount of yarn in brown color
- 2 buttons, black color thread and needle for sewing buttons
- Small amount of fiberfil
- Stitch markers and pins
- Tapestry needle for weaving ends
- Scissors
Gauge: 11 sc x 8 rows = (4” x 4”) with J-10, 6mm crochet hook.
Abbreviations/special stitches (US Term)
- Ch – chain
- Sl st – slip stitch
- Sc – single crochet
- St – stitch
- Sk – skip
- Sl st – slip stitch
- Beg – beginning
- * to ; – repeat * to the instructions.
- Sc2tog – single crochet 2 together
- Sc3tog – single crochet 3 together
Notes:
- Beg ch does not count as st.
- Always attach the stitch markers on first st in each round.
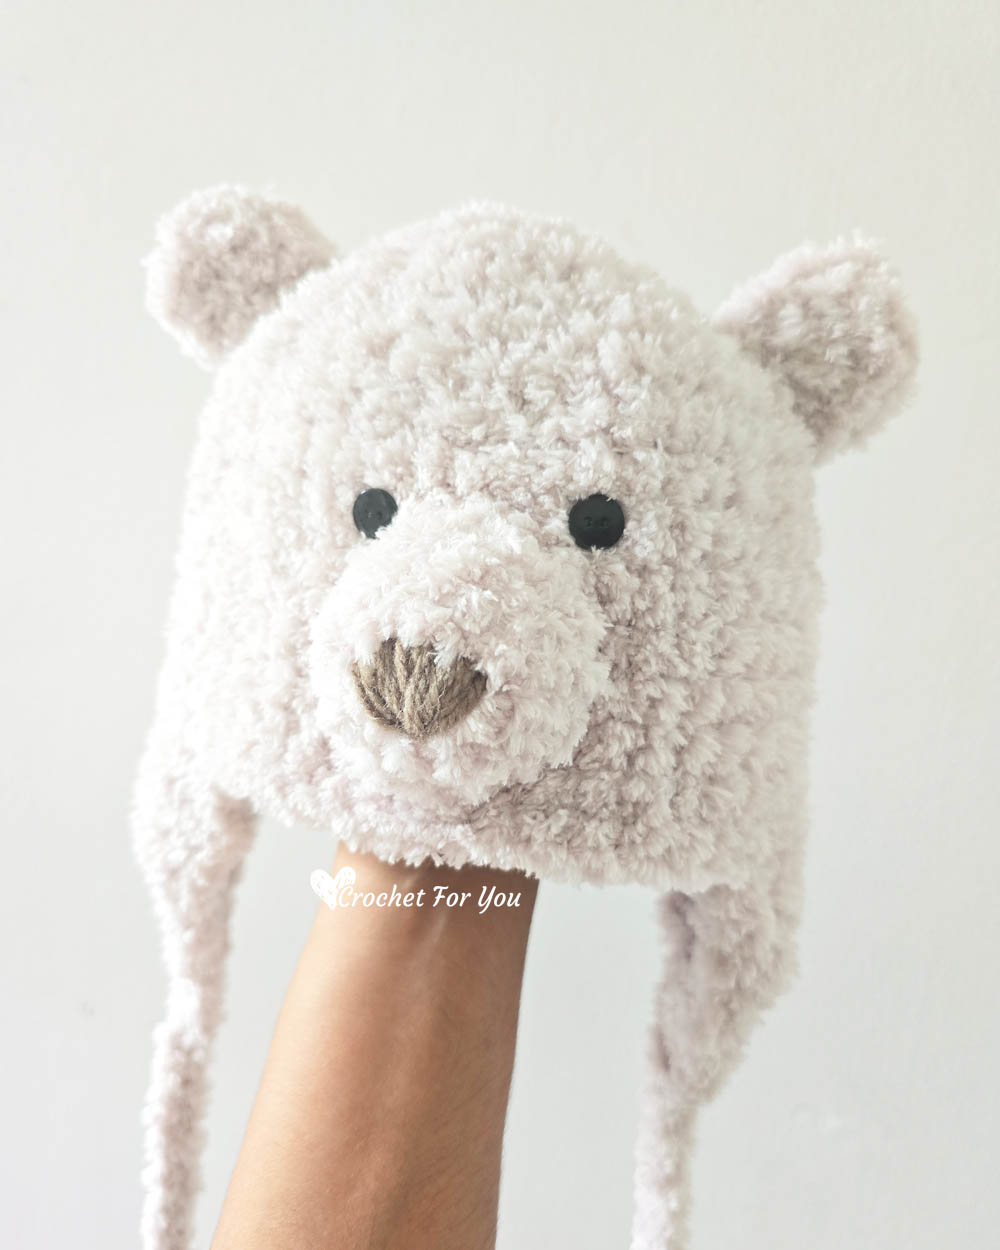
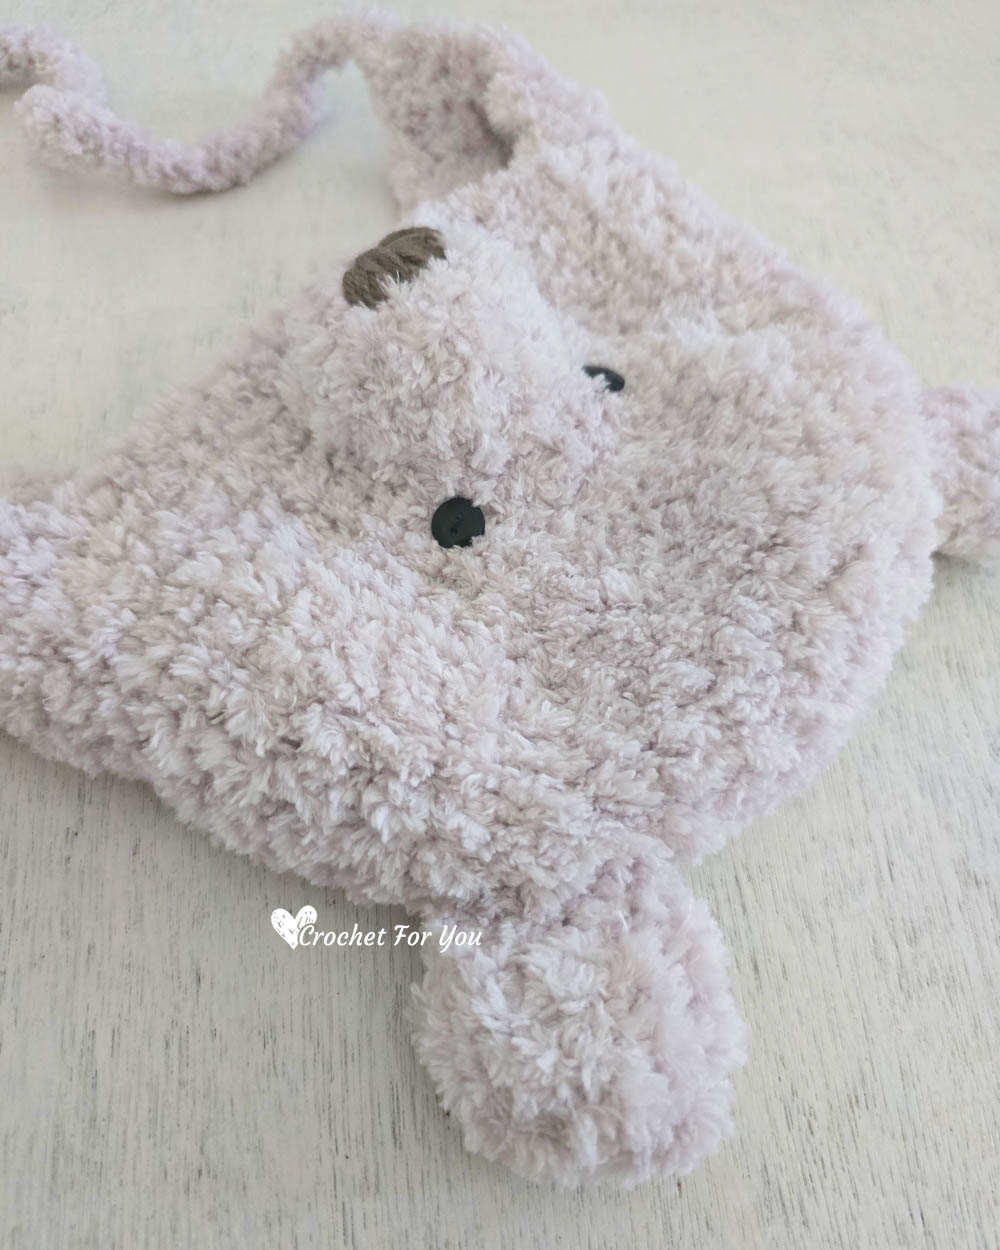
Crown
Make an adjustable ring
Round 1: ch 1, 8 sc into the ring, join with sl st in first sc. (8 sts)
Round 2: ch 1, 2 sc in each st around, join with sl st in first sc. (16 sts)
Round 3: ch 1, 2 sc in first st, *sc in next st, 2 sc in next st; repeat * to around, join with sl st in first sc. (24 sts)
Round 4: ch 1, 2 sc in first st, *sc in each of next 2 st, 2 sc in next st; repeat * to around, join with sl st in first sc. (32 sts)
Round 5: ch 1, 2 sc in first st, *sc in each of next 3 st, 2 sc in next st; repeat * to around, join with sl st in first sc. (40 sts)
Round 6: ch 1, 2 sc in first st, *sc in each of next 4 st, 2 sc in next st; repeat * to around, join with sl st in first sc. (48 sts)
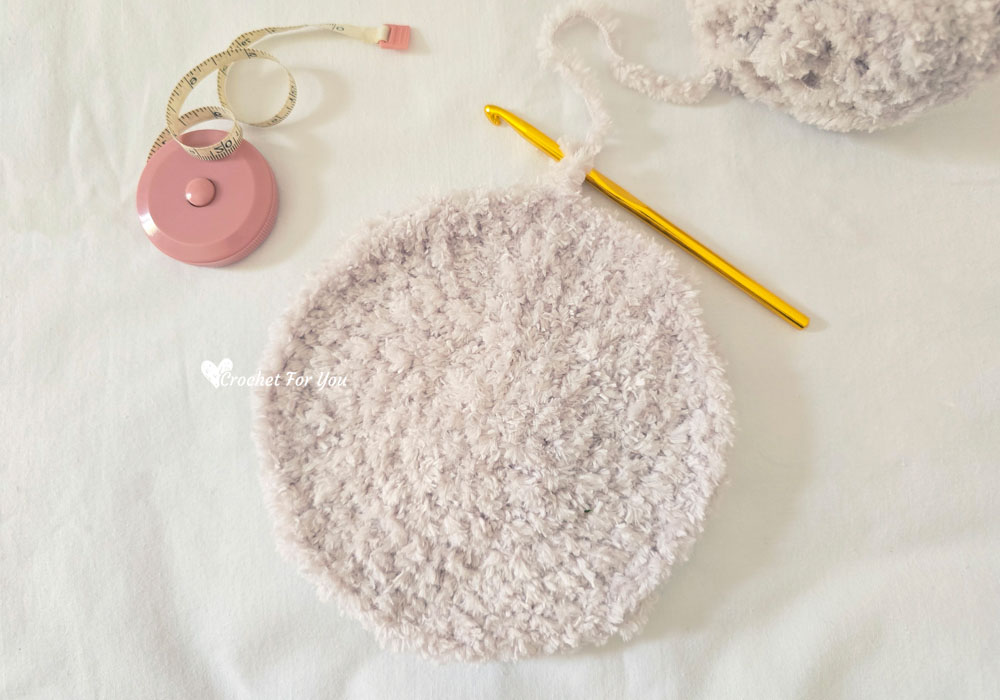
Body of the hat
Round 7: ch 1, sc in each st around, join with sl st in first sc. (48 sts)
Round 8 to 15: repeat round 7.
Ear Flap (make 2)
Row 1: ch 1, sc in first st and each of next 9 st, turn. (10 sts)
Row 2: ch 1, sc in first st and each of next 9 st, turn. (10 sts)
Row 3: ch 1, sc in first st, sc2tog, sc in each of next 4 st, sc2tog, sc in last st, turn. (8 sts)
Row 4: ch 1, sc in first st, sc2tog, sc in each of next 2 st, sc2tog, sc in last st, turn. (6 sts)
Row 5: ch 1, sc in first st, [sc2tog] 2 times, sc in last st, turn. (4 sts)
Row 6: ch 1, sc in first st, sc2tog, sc in last st, turn. (3 sts)
Row 7: ch 1, 3sctog. (1 sts)
Cut the yarn leaving about 10” long yarn tail and fasten off.
Skip next 12 sts and start making 2nd ear flap in 13th st. Follow the Ear flap pattern.
Two Strips
Holding two strands of the yarn, join at the last row of the earflap, crochet 30 chains. Cut the yarn leaving about 3″ yarn tail and fasten off.
Ears (make 2)
Make an adjustable ring.
Round 1: ch 1, 8 sc into the ring, join with sl st in first sc. (8 sts)
Round 2: ch 1, sc in first st and each of next st around, join with sl st in first sc. (8 sts)
Round 3: repeat round 2.
Row 4: flatten the work, insert the hook through both layers and work sc stitches across to close the open, ch 1, sc in each st (inserting hook both layers) across, cut the yarn leaving about 15” long yarn tail and fasten off. (4 sts)
Snout
Round 1: ch 1, 8 sc into the ring, join with sl st in first sc. (8 sts)
Round 2: ch 1, 2sc in first st and each st around, join with sl st in first sc. (16 sts)
Round 3: ch 1, sc in first st and each of next 14 st around, skip 1 last st, join with sl st in first sc. (15 sts)
Embroider a triangular nose with brown color yarn.
Cut the yarn leaving about 20” long yarn and fasten off.
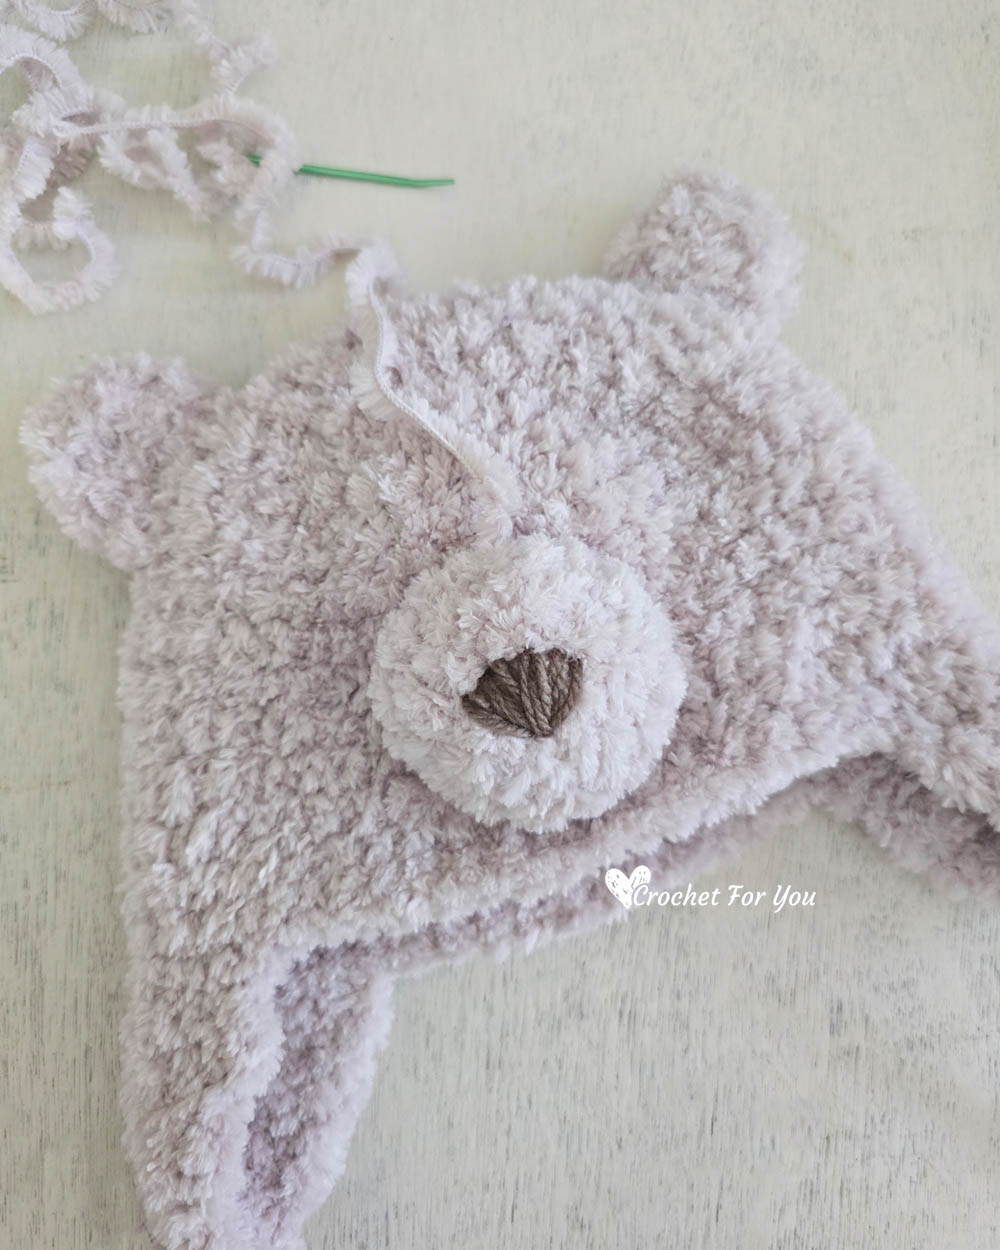
Assembly (facial features)
- Don’t forget to pin each piece before sewing.
- Using yarn tail and the tapestry needle, sew ears on each side of the hat about 4.5″ apart.
- Sew snout between 9 and 14 Rounds, Add fiberfill a little bit to the snout get 3D effect (it will easy to add fiberfill while attaching snout to the face)
- Sew 2 buttons for eyes about 1.5″ apart, just above the snout.

Hope to see you soon with a new FREE pattern
Until then, Happy Crocheting!!
Share your finished projects of this pattern on Crochet For You FB page.
Happy hooking with Crochet For You!!
Let’s connect and share
Facebook | Pinterest | Youtube | Instagram
All contents include photography and patterns are copyrighted Crochet For You by Erangi Udeshika.
Do not copy, edit, distribute or republish patterns and images in this blog in part or whole as your own. Please, share a direct link to the pattern with others and anywhere else. You are welcome to make and sell finished items using my patterns.
Visit Copyright / Terms of use for more info.
Thank you.

You May Also Like

Crochet Santa Christmas Ornament Free Pattern

Handy Dandy Pencil Case Free Crochet Pattern