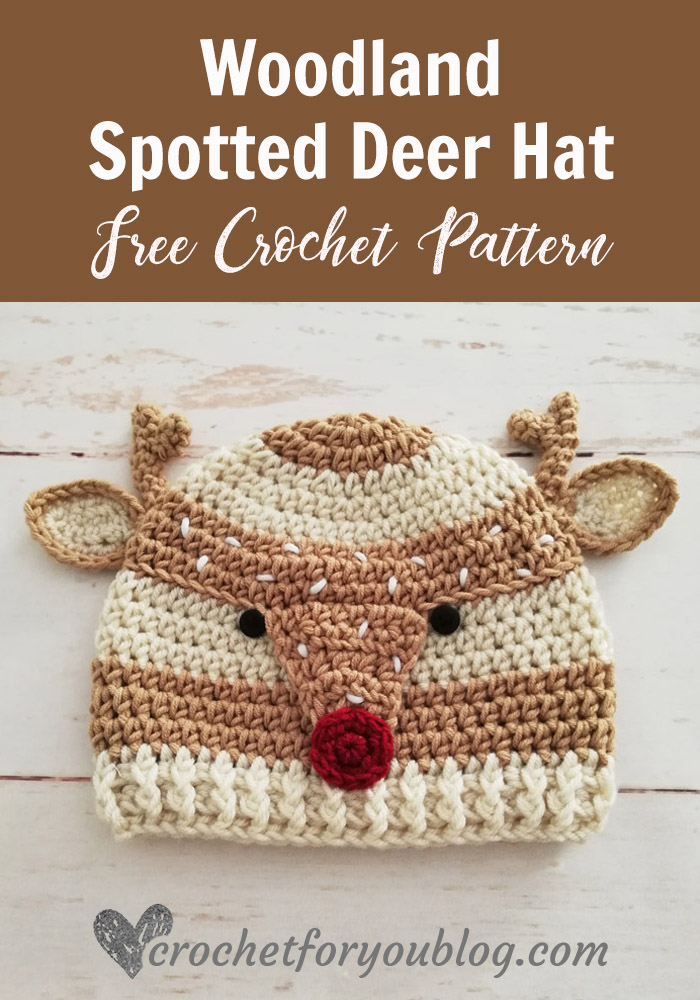
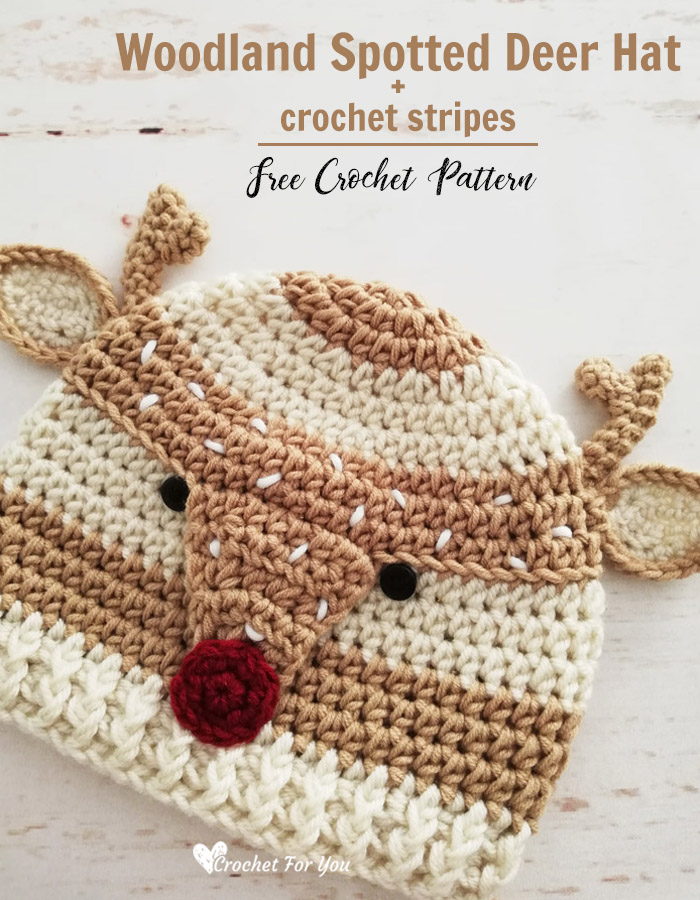
Crochet Woodland Spotted Deer Hat Free Pattern
Crochet Woodland Spotted Deer Hat Pattern by Crochet For You.
Welcome back to another crochet pattern series. This time I come up with the woodland animal theme + crochet stripes + hat. All of these together you can make a beautiful crochet woodland animal hats in stripes. 
This is the fourth pattern of Woodland Animal Hat Pattern Series. So my friends don’t forget to come and see next Friday for the last woodland animal hat pattern. At the end of this series, you will have five hats in total.
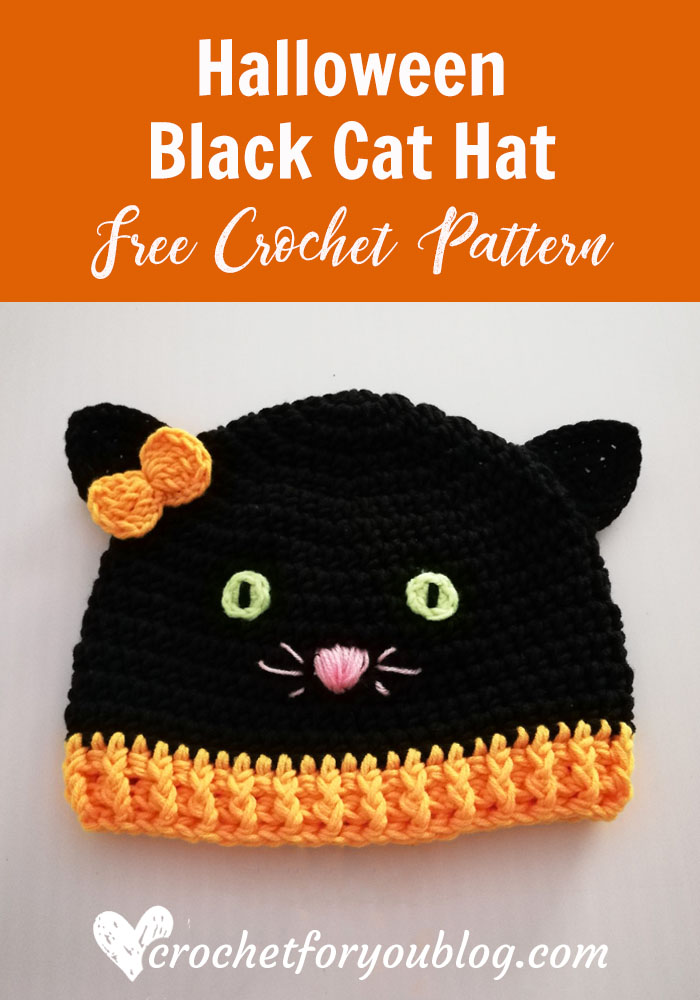
Check other woodland animal hat patterns
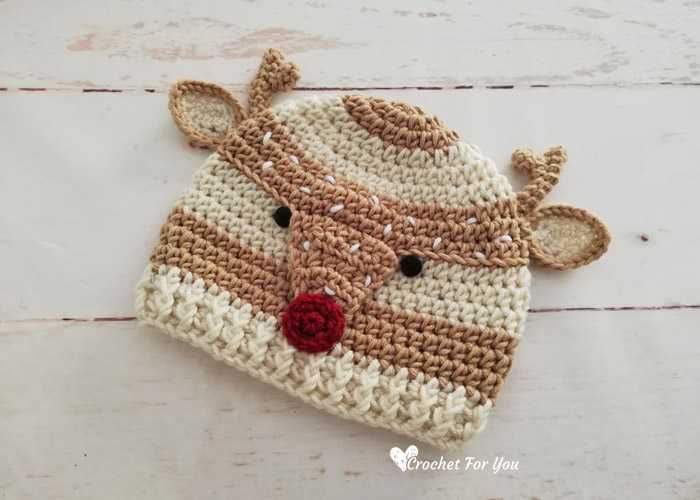
Today we are going to make a spotted deer hat. This pattern is very easy to crochet. After adding some facial features to this light brown and cream striped hat you will see a cute looking spotted deer hat. This Crochet Woodland Spotted Deer Hat has a modern look with stripes and available in toddler size.
Add this pattern to Ravelry queue
Save on Pinterest
skill level: Intermediate
Finished size (toddler 1 – 3)
- Hat height = 7”
- Hat circumference = 16
Materials :
#4-Medium / Worsted yarn (Approx: 150 yards)
(I used)
- Light Brown color yarn (Approx: 75 yards)
- Cream color yarn (Approx: 75 yards)
- Small amount of Red color and White color yarn
- I-9 / 5.5mm crochet hook
- H-8 / 5mm crochet hook
- 2 buttons for eyes
- Tapestry needle for weaving ends.
Gauge: 13 hdc x 9 rows = 4″ with I-9 / 5.5mm crochet hook
Abbreviations
- ch = chain
- sl st = slip stitch
- sc = single crochet
- hdc = half double crochet
- dc = double crochet
- fpdc = front post double crochet
- bpdc = back post double crochet
- st = stitch
- ch-sp = chain space
- beg = beginning
- (C1) = color 1 (Light Brown)
- (C2) = color 2 (Cream)
- *to ; = repeat * to the instructions.
Notes: beg ch does not count as st.
Woodland Spotted Deer Hat Pattern
Make an adjustable/magic ring with (C1) and I-9 / 5.5mm crochet hook
Round 1: ch 1, 8 hdc into the ring, sl st to the first hdc. (8 sts)
Round 2: ch 1, 2 hdc in first st and each of next st around, sl st to the first hdc. (16 sts)
Round 3: ch 1, 2 hdc in first st, *hdc in next st, 2 hdc in next st; repeat to around, sl st to the first hdc. (24 sts)
Round 4: with (C2) ch 1, 2 hdc in first st, *hdc in next 2 sts, 2 hdc in next st; repeat * to around, sl st to the first hdc. (32 sts)
Round 5: ch 1, 2 hdc in first st, *hdc in next 3 sts, 2 hdc in next st; repeat * to around, sl st to the first hdc. (40 sts)
Round 6: ch 1, 2 hdc in first st, *hdc in next 4 sts, 2 hdc in next st; repeat * to around, sl st to the first hdc. (48 sts)
Round 7: with (C1) ch 1, 2 hdc in first st, *hdc in next 5 sts, 2 hdc in next st; repeat * to around, sl st to the first hdc. (56 sts)
Round 8: ch 1, hdc in first st and each st around, sl st to the first hdc. (56 sts)
Round 9: repeat round 8.
Round 10: this round works in back loop only, with (C2), ch 1, BLO hdc in first st and each st around, sl st to the first hdc. (56 sts)
Round 11 to 12: with (C2) repeat round 8.
Round 13 to 15: with (C1) repeat round 8.
Edging
Round 16: join (C2) yarn, repeat round 8.
Round 17: ch 2, fpdc in first st, *bpdc in next st, fpdc in next st; repeat * to around, sl st to the first st. (56 sts)
Round 18: repeat round 17. Fasten off and weave ends.
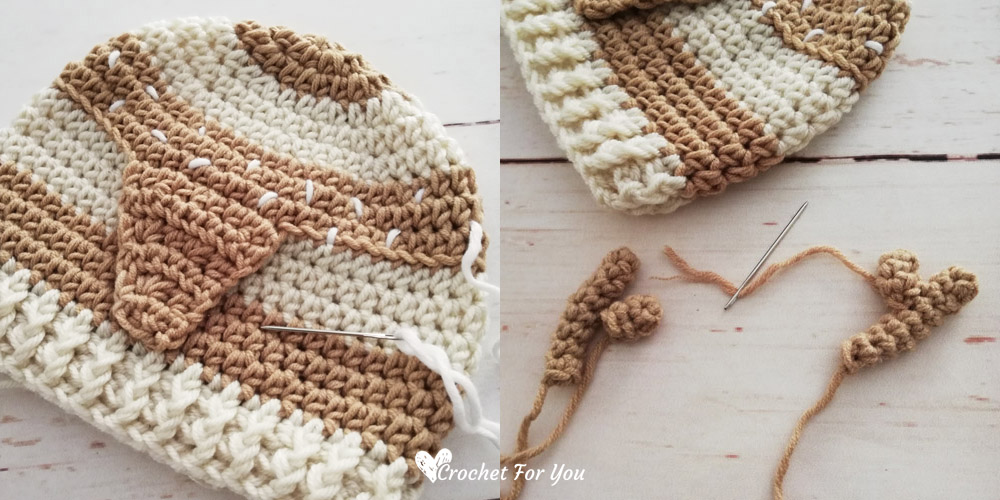
Snout
Turn the hat upside down and start to crochet the snout part.
Join (C1) yarn at the front loop of any st in round 9 in Light Brown color.
Row 1: this row works in front loop only. ch 1, FLO hdc in same st, FLO hdc in each of next 8 sts, turn. (9 sts)
Row 2: ch 1, hdc in first st, hdc2tog (see special stitches above), hdc in each of next 3 sts, hdc2tog, hdc in the last st, turn. (7 sts including hdc2tog)
Row 3: ch 1, hdc in first st, hdc2tog, hdc in next st, hdc2tog, hdc in the last st, turn. (5 sts including hdc2tog)
Row 4: ch 1, hdc in first st, hdc in each st across, turn. (5 sts)
Row 5: ch 1, hdc in first st, hdc3tog (see special stitches above), hdc in last st, turn. (3 sts including hdc3tog)
Row 6: ch 1, hdc in first st, hdc in each st across, (3 sts) Cut the yarn and fasten off leaving about 6″ long yarn tail and sew the snout with the tapestry needle and yarn tail.
Nose
With H-8 / 5mm crochet hook and red color yarn, make an adjustable/magic ring.
Round 1: ch 1, 6 hdc into the ring, sl st to the first hdc. (6 sts)
Round 2: ch 1, 2 hdc in first st and each of next st around, sl st to the first hdc. (12 sts) Cut the yarn and fasten off leaving about 6″ long yarn tail.
Ears (make 2)
With H-8 / 5mm crochet hook and (C2) yarn, crochet ch 5.
Round 1: sc in 2nd ch from the hook, sc in each of next ch 2, (1 sc, ch 2, 1 sc) in last st, work on the opposite side of foundation chain. sc in each of next ch 3, sl st to the first st. (8 sts)
Round 2: ch 1, 3 sc in first st, sc in each of next 3 sts, 3 sc in ch-sp, sc in each of next 3 sts, 3 sc in last st, sl st to the first st. (15 sts)
Round 3: with (C1), ch 1, 3 sc in first st, sc in each of next 6 sts, 3 sc in next st, sc in each of next 6 sts, 3 sc in last st, sl st to the first st. (21 sts)
Cut the yarn and fasten off leaving about 6″ long yarn tail.
Antlers
Main antler (make 2)
With H-8 / 5mm crochet hook and (C1) yarn, make an adjustable/magic ring.
Round 1: ch 1, 4 sc into the ring, sl st to the first st. (4 sts)
Round 2: ch 1, sc in first st and each of next 3 sts, sl st to the first st. (4 sts)
Round 3 to 8: repeat round 2. Cut the yarn and fasten off leaving about 6″ long yarn tail.
Side antler (make 2)
With H-8 / 5mm crochet hook and (C1) yarn, make an adjustable/magic ring.
Round 1: ch 1, 4 sc into the ring, sl st to the first st. (4 sts)
Round 2: ch 1, sc in first st and each of next 3 sts, sl st to the first st. (4 sts)
Round 3: ch 1, sc in first st and each of next 2 sts, sl st to next st. Cut the yarn and fasten off leaving about 6″ long yarn tail. Sew each side antler to the main antler piece using a tapestry needle and yarn tail.
Finishing
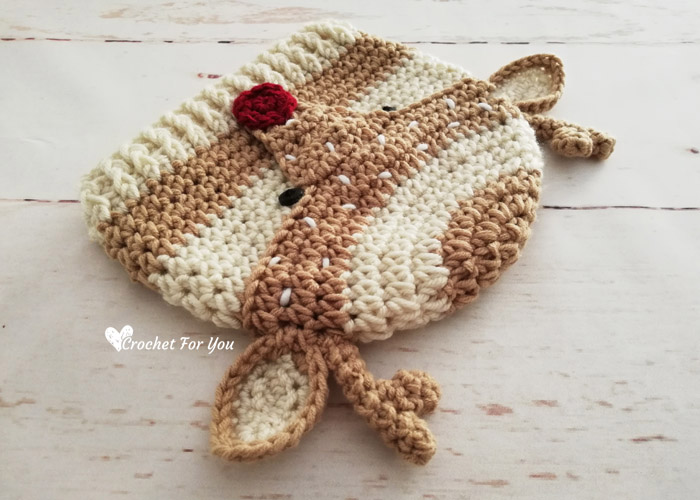
Using tapestry needle and white color yarn embroider white spots here and there on rounds 7 to 9 and on the snout. Sew each ear and antler in 2 sides of the hat between 7 and 8 rounds. Sew nose on the snout. Sew 2 buttons for eyes.
Hope to see you soon with a new FREE pattern
Until then, Happy Crocheting!!
Share your finished projects of this pattern on Crochet For You FB page.
Happy hooking with Crochet For You!!
Let’s connect and share
Facebook| Pinterest | Twitter | Instagram
All contents include photography and patterns are copyrighted Crochet For You by Erangi Udeshika.
Do not copy, edit, distribute or republish patterns and images in this blog in part or whole as your own. Please, share a direct link to the pattern with others and anywhere else. You are welcome to make and sell finished items using my patterns.
Visit Copyright / Terms of use for more info. Thank you.


5 Comments
Darlene
This is just so sweet!! This woodland group of hats is just wonderful!! Thank you for sharing your lovely designs!!!
Dawn
I am currently working on the ears for the woodland spotted dear hat and am totally confused with round 2. Can you please review this step and tell me if something looks amiss. It appears to me as though only nine stitches are being address. Is there a step missing from this direction?
Thanks for your prompt attention as I have an order for this hat and I am a very experienced crocheter
Thanks much
Dawn Luera
Erangi Udeshika
I just checked the pattern instructions for the ears. I’m so sorry, there was an error at the beginning. I fixed and updated the pattern. I hope now you can make them easily. Thank you so much for letting me know about it. 🙂
Dawn
Thanks so much for your prompt attention.
Dawn ?
Erangi Udeshika
You are welcome!