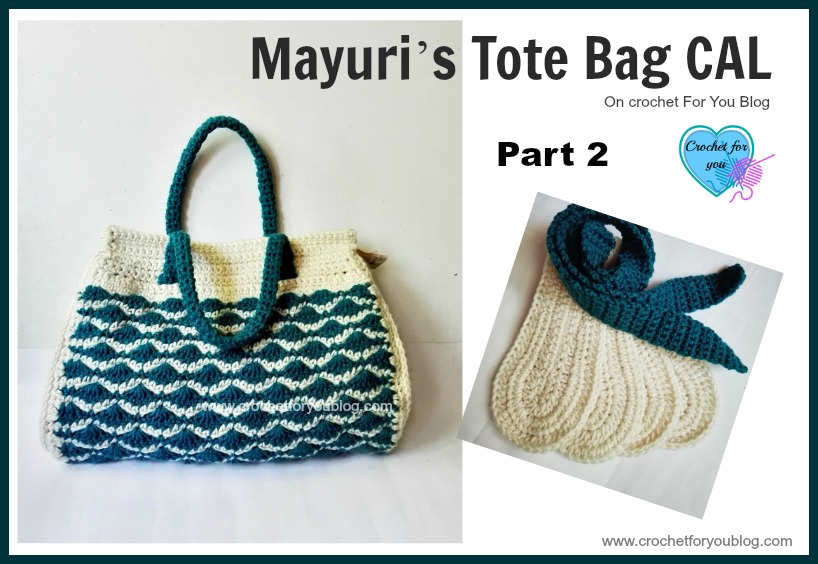
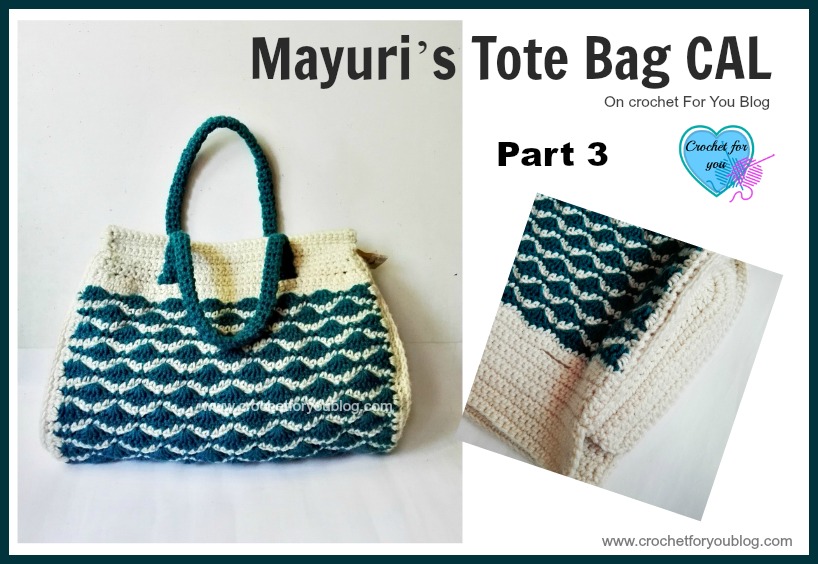
Mayuri’s Tote Bag CAL – Part 2
Don’t forget to add this CAL to Ravelry queue
Mayuri’s Tote Bag CAL – Part 2 (sides and handles)
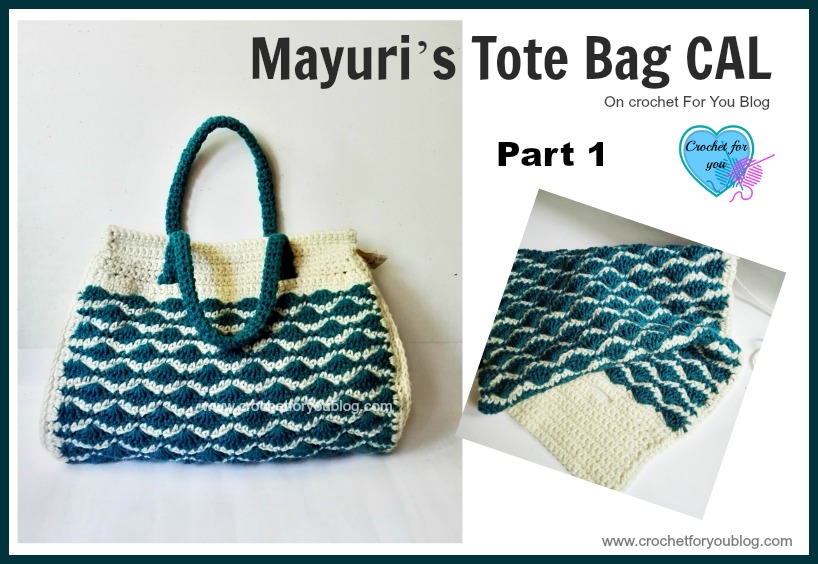
Please click here for material list and CAL schedule.
I created an event for Mayuri’s Tote Bag CAL on Facebook page Crochet For You. Please feel to join if you are going to start this CAL ask questions and help each other. >> Click here to join. Don’t forget to share your wip and photos with everyone.
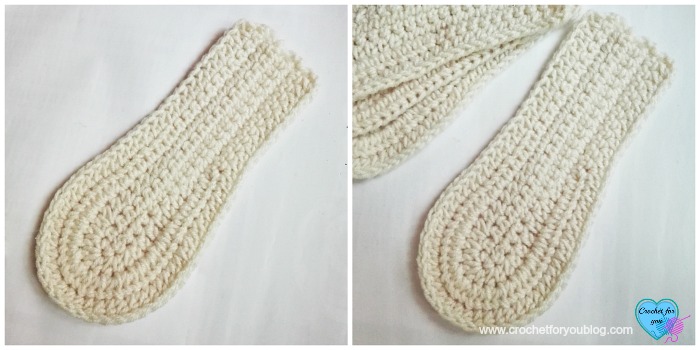
Sides (Make 4)
Finished size
- Before joining 2 side pieces together: height = 8.75” / width of the widest part = 4”
- After joining 2 side pieces together: height = 9.5” / width of the widest part= 4.5”
Abbreviations
- ch = chain
- sc = single crochet
- hdc = half double crochet
- dc = double crochet
- st = stitch
- sl st = slip stitch
Note:
- This part includes making sides and handles.
- Sides: make 4 pieces first and crochet 2 pieces together to get strong sides.
ch 23 with Aren,
Row 1: sc in 2nd ch from hook, sc in each of next 20 sts, 3 sc in last st, working on opposite side of the foundation chains, sc in each of next 21 sts, turn. (45 sts)
Row 2: ch 1, sc in first st, sc in each of next 13 sts, hdc in each of next 6 sts, 2 hdc in next 2 sts, 3 hdc in next st, 2 hdc in next 2 sts, hdc in next 6 sts, sc in next 14 sts, turn. (51 sts)
Row 3: ch 1, sc in first st, sc in each of next 11 sts, hdc in each of next 6 sts, 2 hdc in next 15 sts, hdc in each of next 6 sts, sc in 12 sts, turn. (66 sts)
Row 4: ch 1, hdc in first st, hdc in each st across. (66 sts) Fasten off and weave the ends.
Joining 2 pieces together (check this video tutorial from moogly if you are not familiar joining 2 pieces with single crochet)
hold 2 pieces together facing wrong side each other, insert hook into first st of both pieces (photo 1), make a slip knot and pull it back through the sts, ch 1, sc in same sts, sc in each sts around the curved edge until last st. (66 sts total around the curved edge.
Fasten off and cut the yarn leaving 12” long tail, insert yarn tail into the tapestry needle and sew 2 pieces together on straight side. Fasten off and weave the ends.

Place stitch markers in first st and last st.
Place another 2 stitch markers in 33rd and 34th sts on curved edge. These are center of the side and will be match with the center stitches of the body of the bag edge.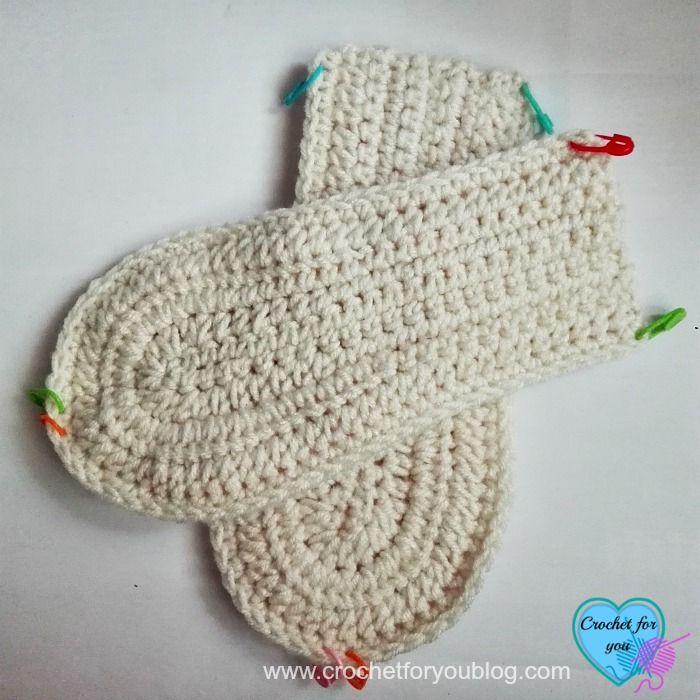
After joining 2 pieces together get the block of this side shape. Put the one of the side pieces on the piece of paper/ card stock and draw a line around and cut it on the line. This block you will need for the lining part.

Handle (make 2)
Handle size: 19.5” long
Row 1: ch 6 with Real Teal, sc in 2nd ch from hook, sc in each ch across, turn. (5 sc sts)
Row 2:ch 1, sc in each st across, turn. (5 sc sts)
Row 3 to 70: repeat row 2.
After crocheting strip, sew side of strip together leaving 6 rows at two ends.
Start to sew together at row 7, stop and finished at row 63. (photo below)


Can’t wait to see your finished projects. ? Share your finished projects of thispattern
Happy hooking with Crochet For You!!
Let’s connect and share facebook | google+ | pinterest | twitter | Newsletter
Do not copy, edit, distribute or republish patterns and images in this blog in part or whole as your own. Please, share a direct link to the pattern with others and anywhere else. You are welcome to make and sell finished items using my patterns.
Visit Copyright / Terms of use page for more info.Thank you.

2 Comments
Angela
Is there a final pattern with all of the parts put together? I am trying to make this into a portable size that I can take with me on my tablet when I don’t have internet access. Thanks!
Erangi Udeshika
Hi Angela, this is a CAL (Crochet along) I did in 2016. And have divided into 4 parts because it’s too long for one page. Isn’t it easy for you to finish one part first and go to the next part? You can find all the links to each part at the bottom of this post >> https://www.crochetforyoublog.com/2016/05/mayuris-tote-bag-cal/ . Thank you.