Crochet Granny Square with 3D Flower Free Pattern
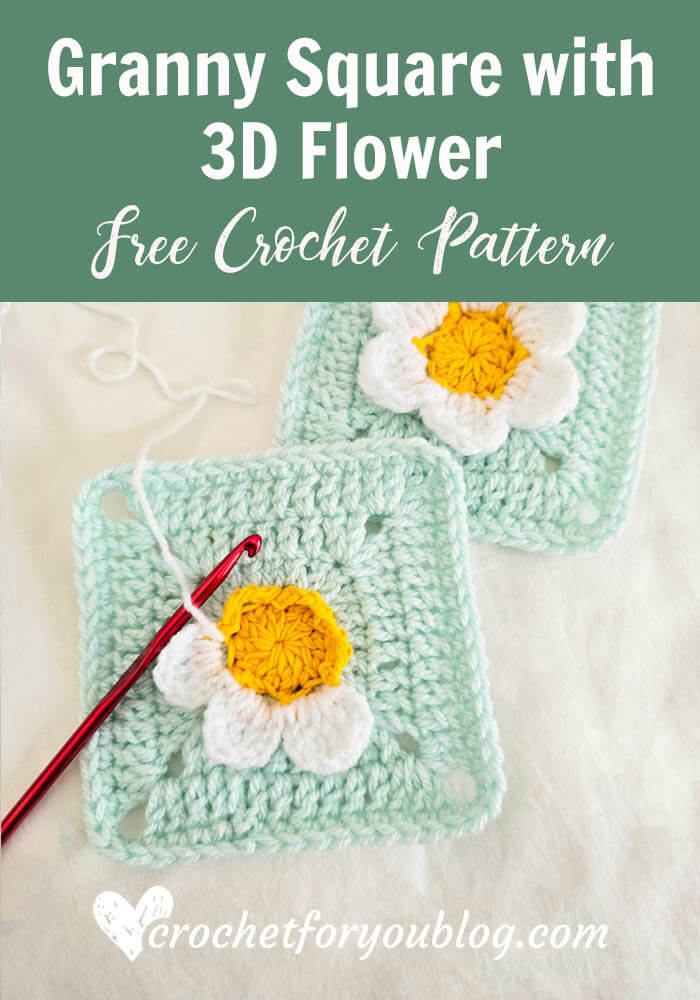
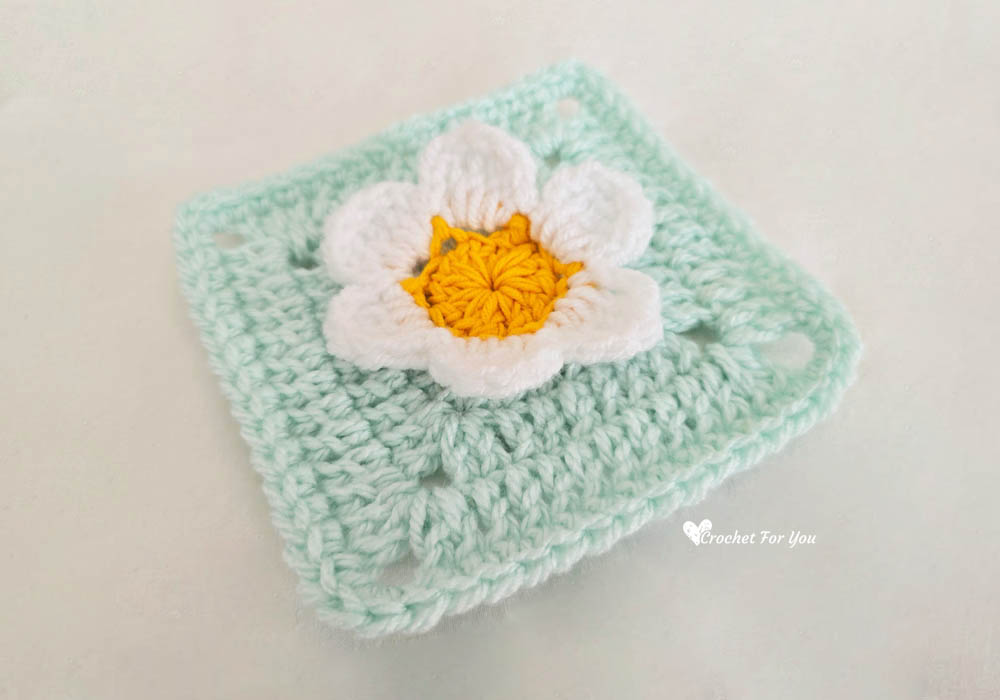
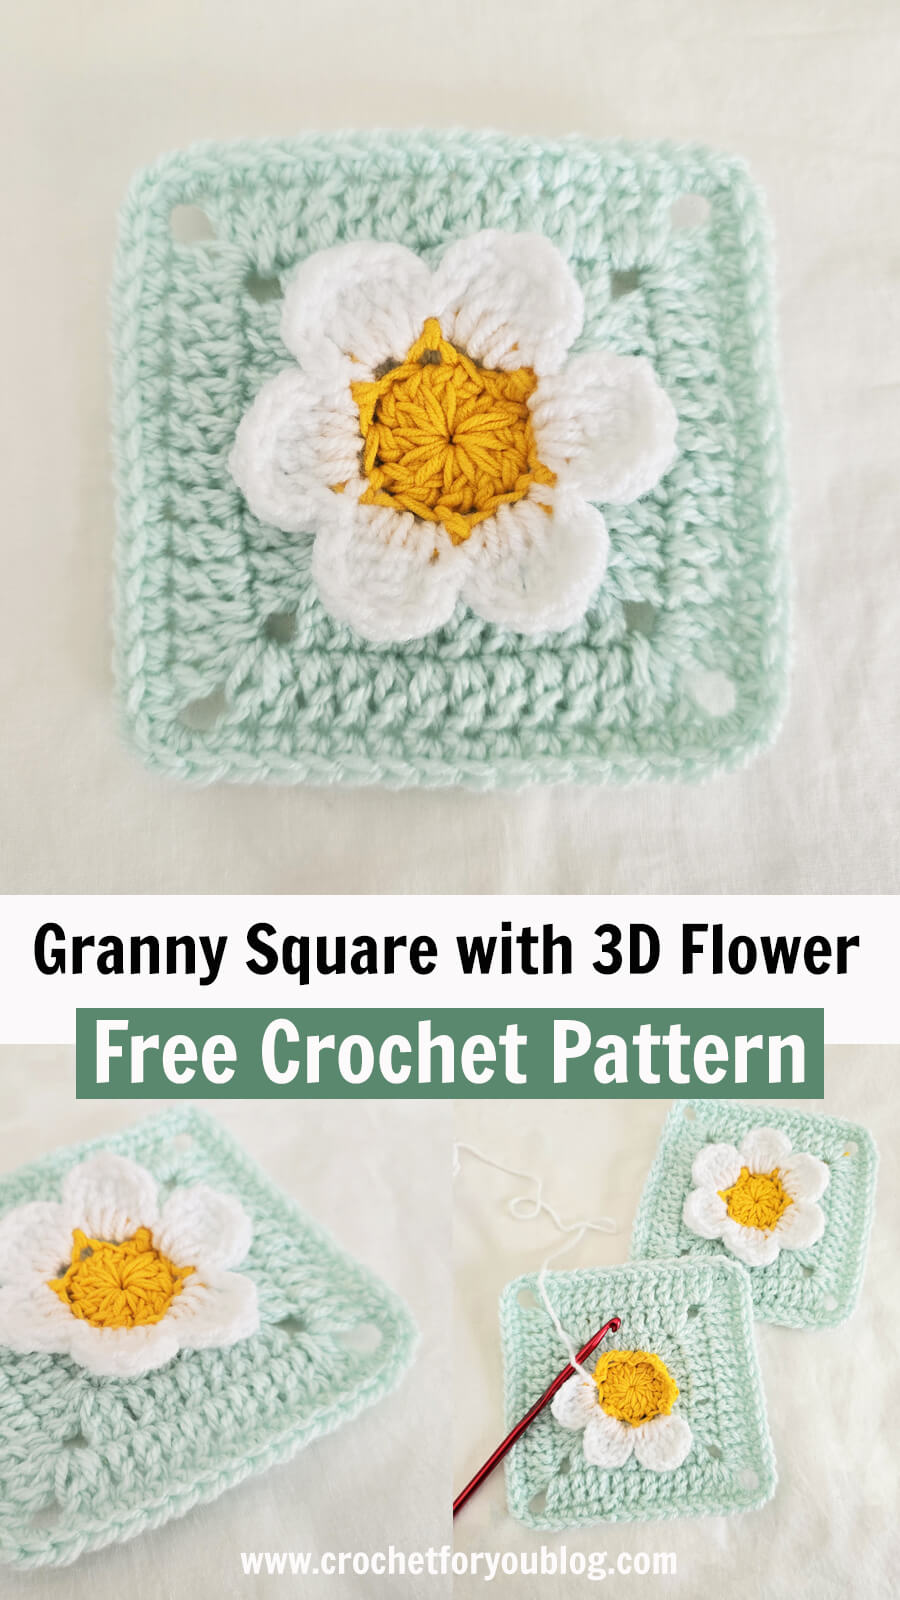
Make these pretty granny square with 3D flower for your next spring crochet project. Granny squares are one of a simple pattern that you can use in many ways for blankets, bags, pillow covers to scarves, or even wall art. A beautiful standout effect can be achieved by adding 3D flowers to your granny square project. Hope you love this pattern.
Add this pattern to Ravelry queue
Save on Pinterest
Watch the video Tutorial Below
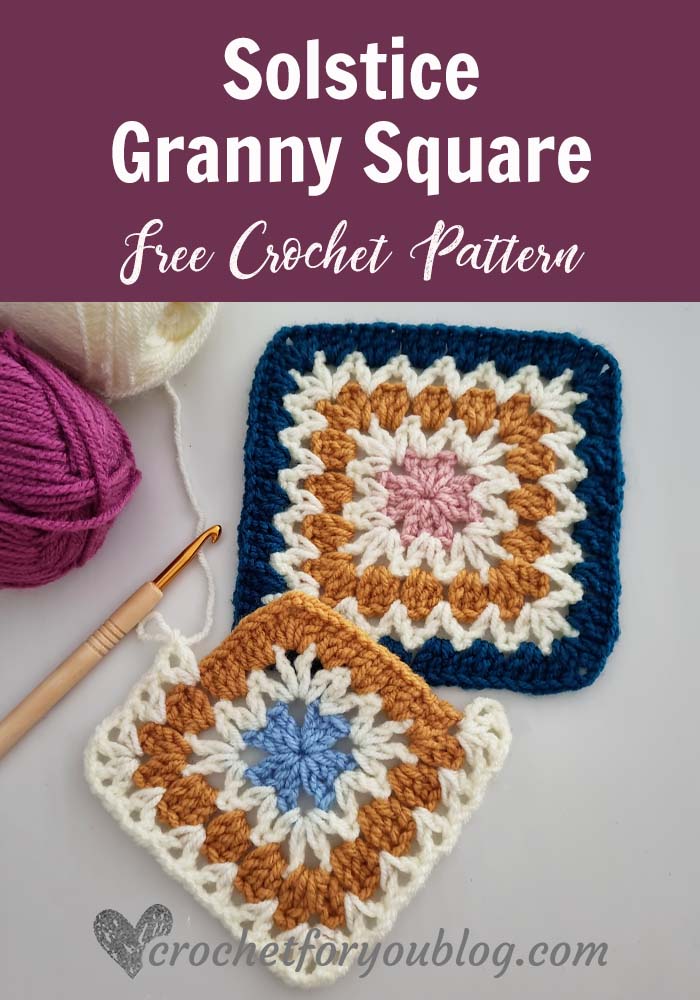
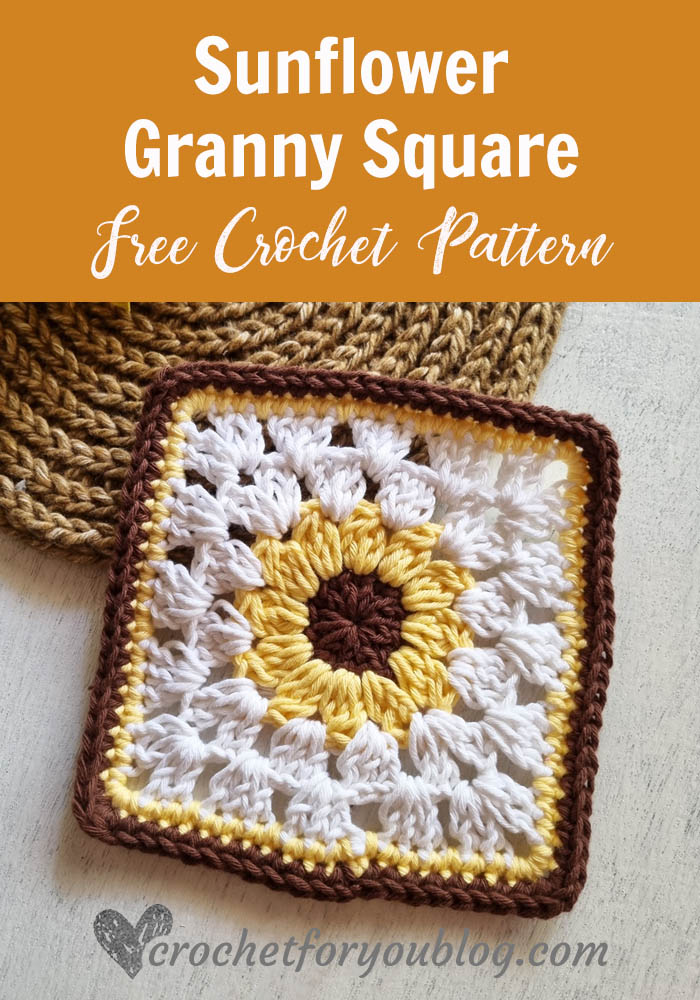
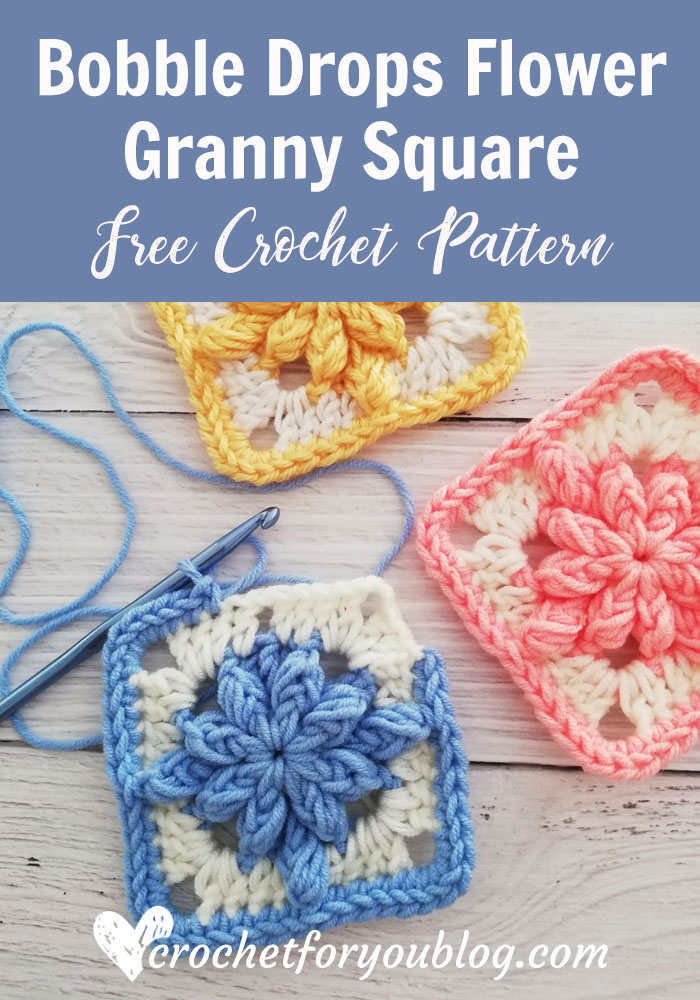
More Granny Squares to Crochet
Skill Level: Intermediate
Finished size: 5″ x 5″
Materials:
- Yarns: 4-Medium / Worsted / 100% Acrylic yarns. I used some left over yarns in 3 colors (Approx: 50 yards)
- Hook: US I/9, 5.5mm crochet hook
- Notions: Tapestry needle for weaving ends, Scissors
Gauge: Gauge is not very important for this project.
Abbreviations / special stitches (US Term)
- Ch – chain
- Sl st – slip stitch
- Sc – single crochet
- Dc – double crochet
- Sk – skip
- St(s) – stitch(s)
- FL – front loop
- BL – back loop
- Ch-sp – chain space
- *to – repeat * to the instructions.
- [ ] or [[ ]] – work instructions within brackets as many times as directed.
- Beg – beginning
- (C1) – Color 1
- (C2) – Color 2
- (C3) – Color 3
Notes:
- This granny square with a 3D flower, made with 3 colors.
- The square starts with the middle of the flower, then it expands to a granny square.
- After finishing granny square, petals of the flower
- For a bigger size square, repeat round 5 until your desired size.
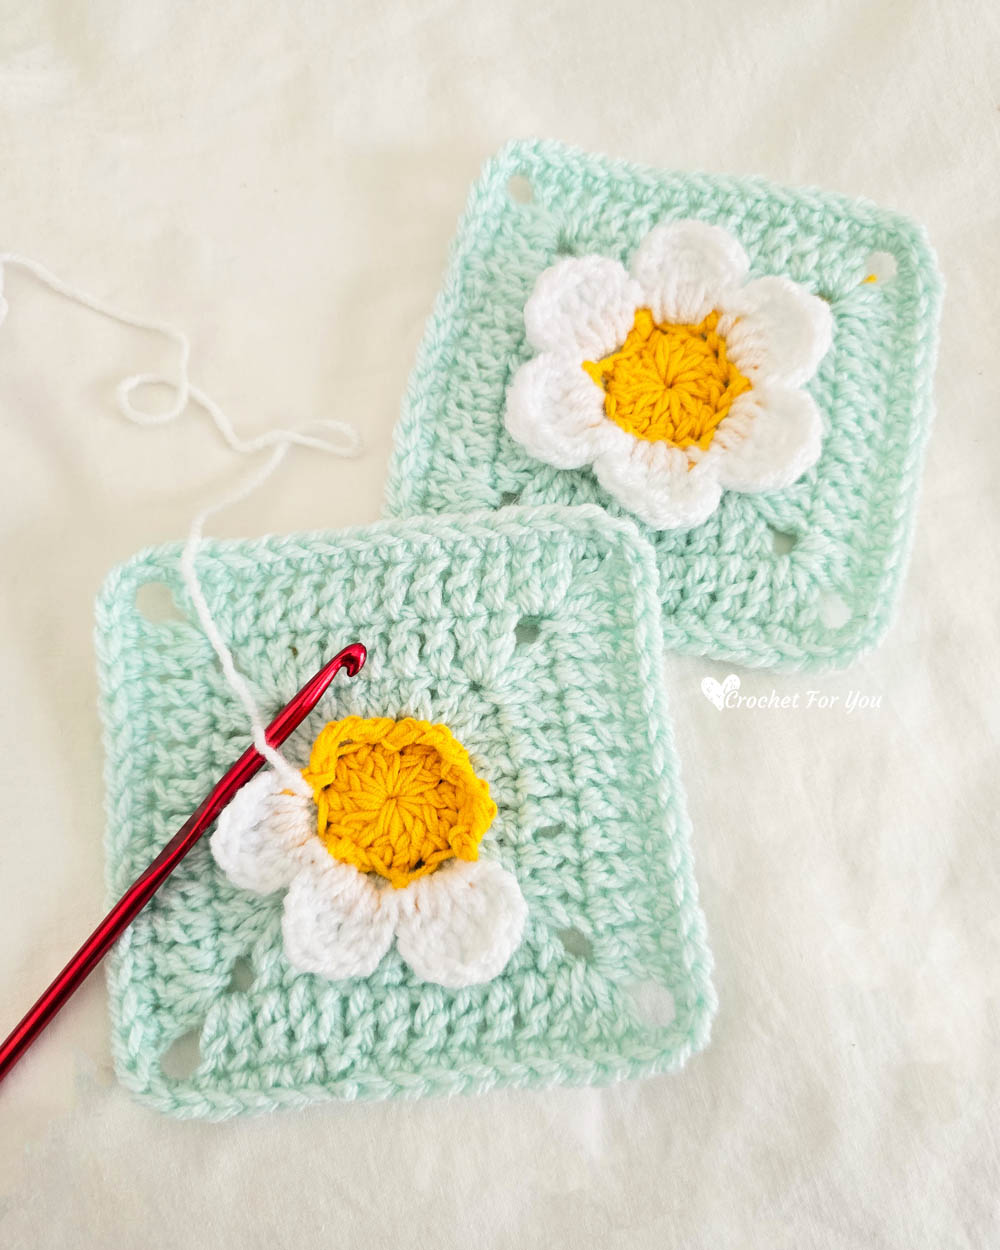
Crochet Granny Square with 3D Flower Pattern
With (C1) yarn, make an adjustable ring.
Round 1: ch 1 (beg ch does not count as st), 12 dc into the adjustable ring, join with sl st in FL of first dc.(12 dc)
Round 2: [ch 5, sk next st, sl st in FL of next dc] 6 times. Fasten off and cut the yarn. (6 chain spaces)
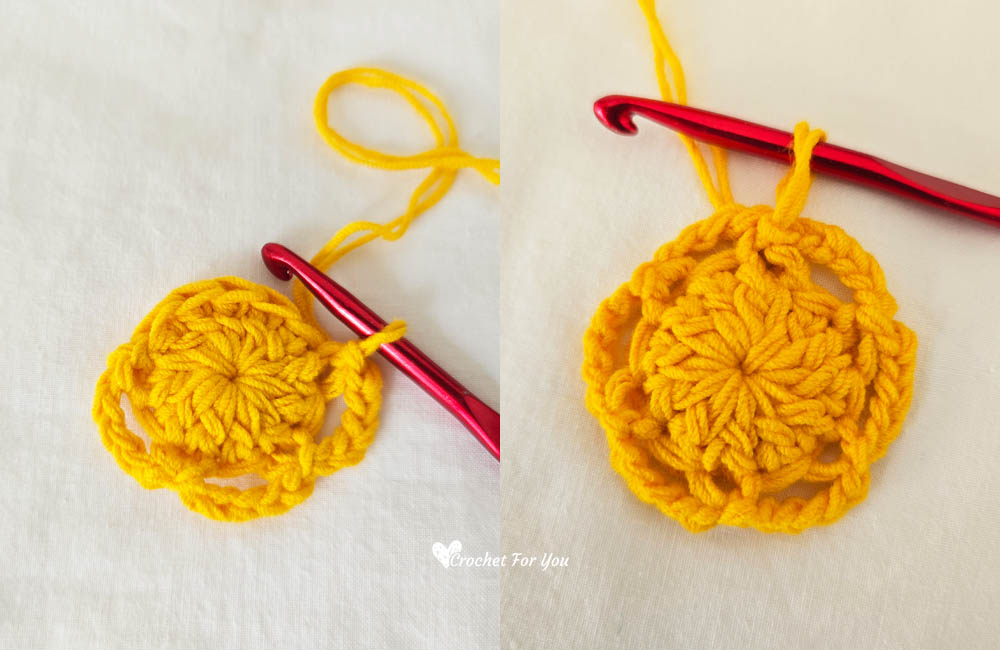
Round 3: (work in back loop only) join (C2) yarn one of the BL of dc, ch 3 (count as dc), dc in BL of same st, 2 dc in BL of each st around, join with sl st in beg ch 3 top. (24 dc)
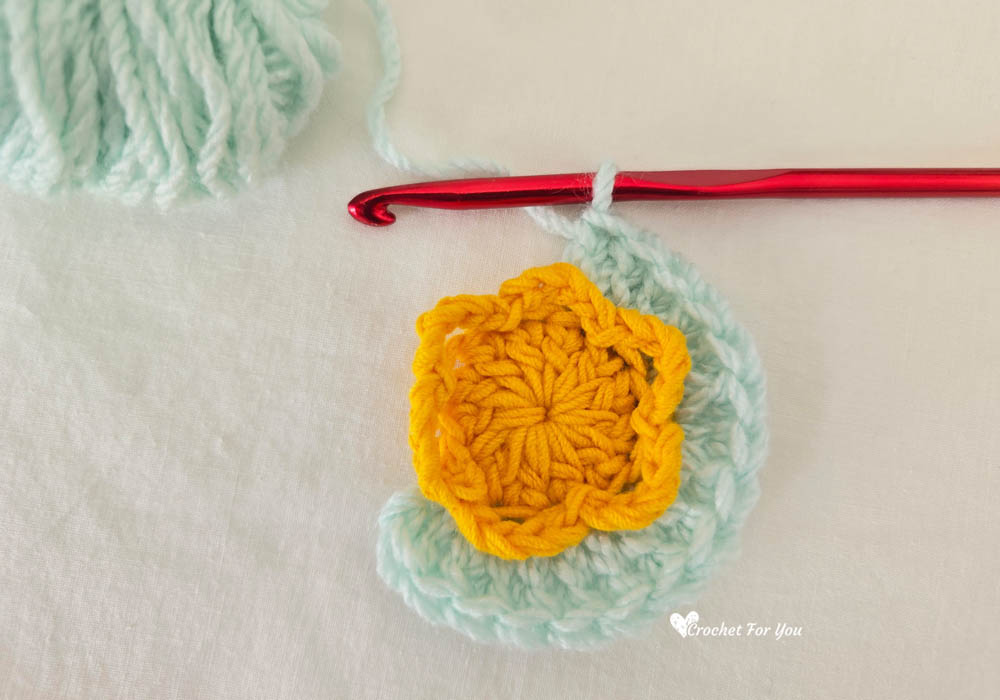
Round 4: ch 3 (count as dc), (dc, ch 2, dc) in same st, *dc in each of next 5 st, (2 dc, ch 2, 2 dc) in next st; repeat around, join with sl st in beg ch 3 top. (36 dc)
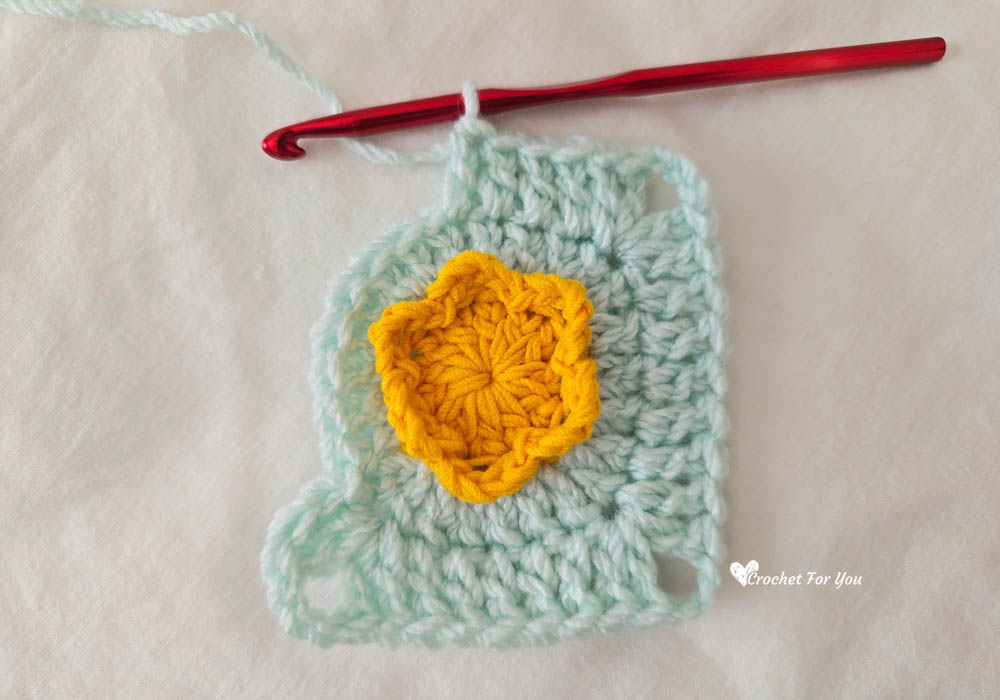
Round 5: ch 3 (count as dc), *dc in each of next st until the next corner ch-sp remains, (2 dc, ch 2, 2 dc) in next corner ch-sp; repeat around, join with sl st in beg ch 3 top. (52 dc)
Round 6: ch 1 (does not count as sc), sc in first st, *sc in each of next st until the next corner ch-sp remains, 3 sc in next corner ch-sp; repeat around, join with sl st in first st. (64 dc)
Petals
Start crocheting petals in round 2 (chain loops)
Join (C3) yarn one of the chain loops of round 2, with ch 3, (dc, tr, dc) in same loop, ch 3, sl st in same loop (one petal is made), *ch 1, sl st in next loop, ch 3, (dc, tr, dc) in same loop, ch 3, sl st in same loop; repeat around, there should be 6 petals.
Do not cut the yarn
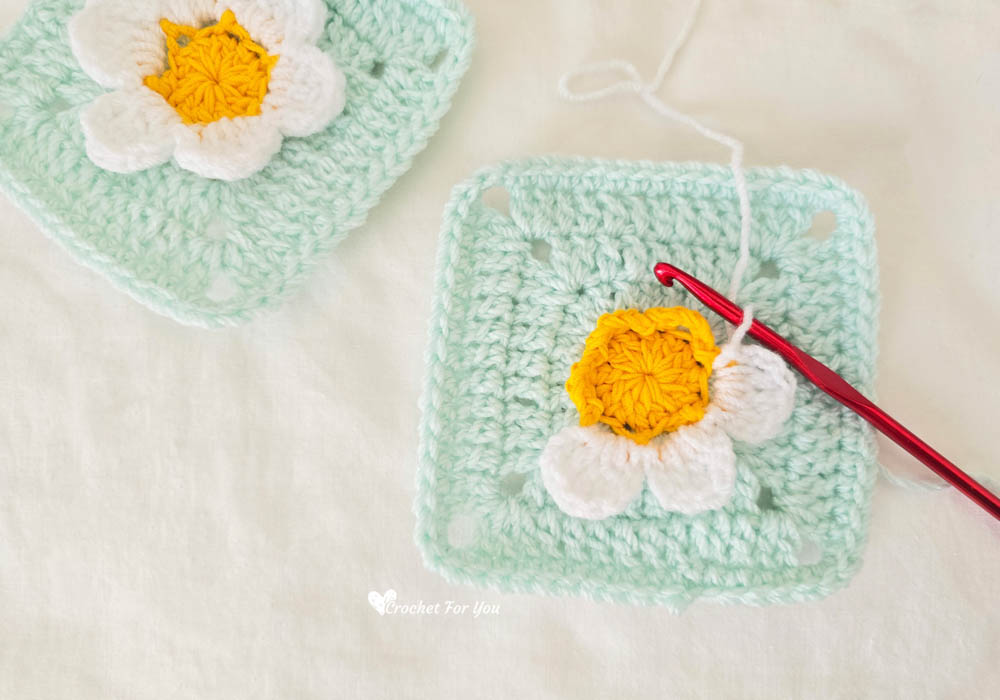
Crochet slip stitch around the edge of the petals for a strong petals, you can skip this round if you want.
* insert the hook in next st of the petal, yarn over, pull up a loop through st and the loop (sl st) on the hook; repeat * from around the edge of the petals.
Fasten off and weave the end.
Watch the Video Tutorial

Hope to see you soon with a new FREE pattern
Until then, Happy Crocheting!!
Share your finished projects of this pattern on Crochet For You FB page.
Happy hooking with Crochet For You!!
Let’s connect and share
Facebook | Pinterest | Youtube | Instagram
All contents include photography and patterns are copyrighted Crochet For You by Erangi Udeshika.
Do not copy, edit, distribute or republish patterns and images in this blog in part or whole as your own. Please, share a direct link to the pattern with others and anywhere else. You are welcome to make and sell finished items using my patterns.
Visit Copyright / Terms of use for more info.
Thank you.