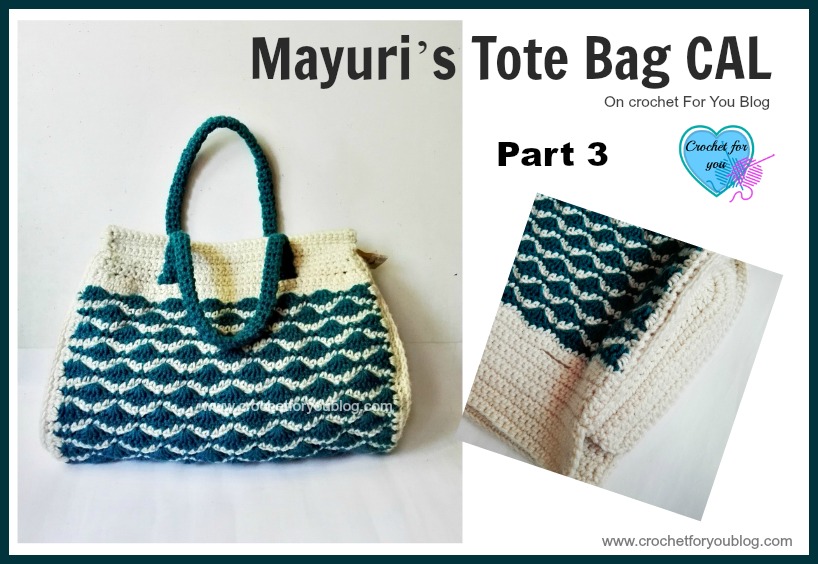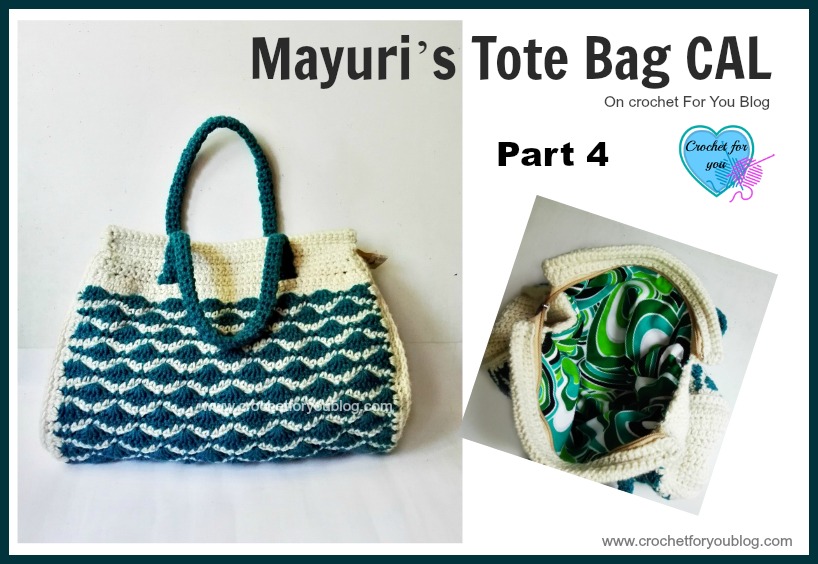
Mayuri’s Tote Bag CAL – Part 4 (final part)
Don’t forget to add this CAL to Ravelry queue
Mayuri’s Tote Bag CAL – Part 4 (lining)
Please click here for material list and CAL schedule.
I created an event for Mayuri’s Tote Bag CAL on Facebook page Crochet For You. Please feel to join if you are going to start this CAL ask questions and help each other. >> Click here to join. Don’t forget to share your wip and photos with everyone.
Disclosure: This blog contains affiliate links.
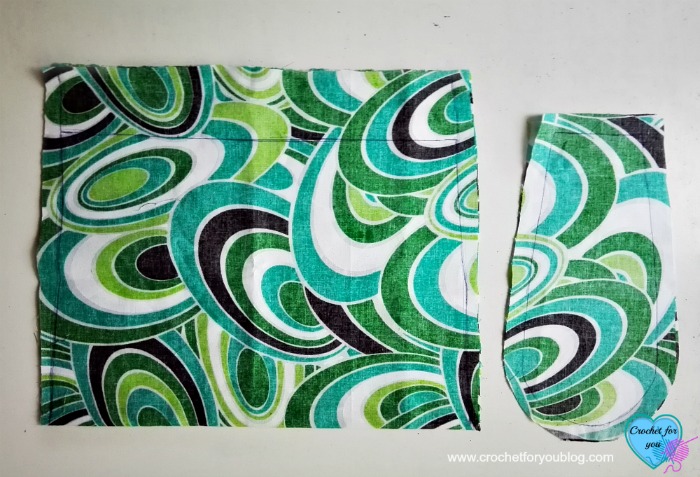
To make lining for this bag, first you have to get the right measurements of your bag. Here are the measurements I got from my bag. The measurements of your bag may quite different from mine.
- Height of the bag = 10.5”
- Height of the sides = 9.5”
- Width of the bottom of the bag = 13”
- Width of top = 11.5”
- And you will need the side’s block we did in part 2. Please fold the block vertically in half and draw the line. (I forget to tell this in part 2)
Lining to the body of the bag
Fold the fabric in half and mark your bag’s measurements on it (Width of bottom, height of the bag and width of the top of the bag). Cut the piece, leaving 1″ for side seaming and 2 – 3” for the top seaming.
Lining to the sides
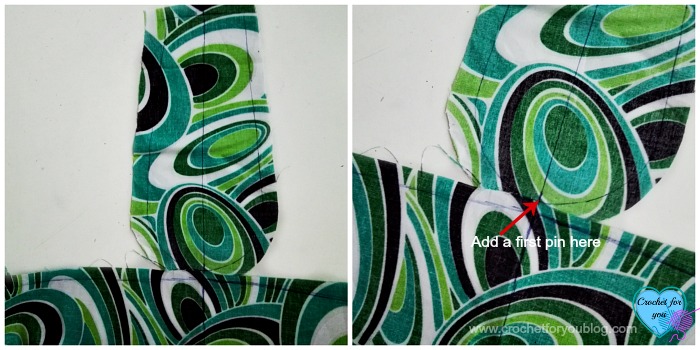
Cut 2 side pieces using your block, leaving 1″ for curved edge seaming and 2-3” for top of the side seaming. And don’t forget to add a center line on the sides too.
First, you have to match and pin these all pieces together.
The folded line of the body of the bag is the center line and you have already marked the center line on the sides too.
Don’t forget to keep wrong side out when you pining and sewing
Unfold the lining of the body of the bag. First, match and pin 2 pieces (one piece of the side and the body of the bag) using this folded line and a marked line on each side piece. Then pin around and start to sew.
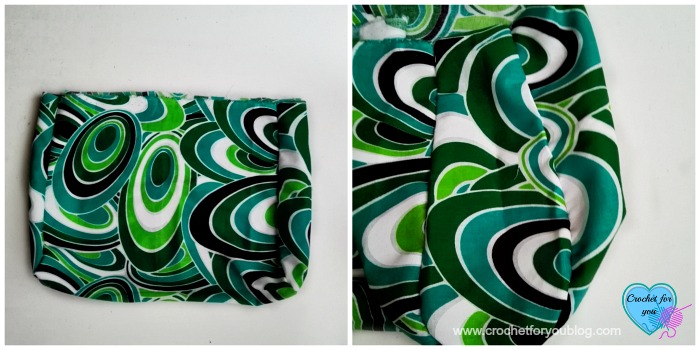
Turn the lining right side out and turn your (crocheted) bag wrong side out. Put the bag into the lining.
Starting pin first at each sides matching each 2 layers (crocheted piece and lining piece), second, fold the top seaming inside of the two sides and pin.
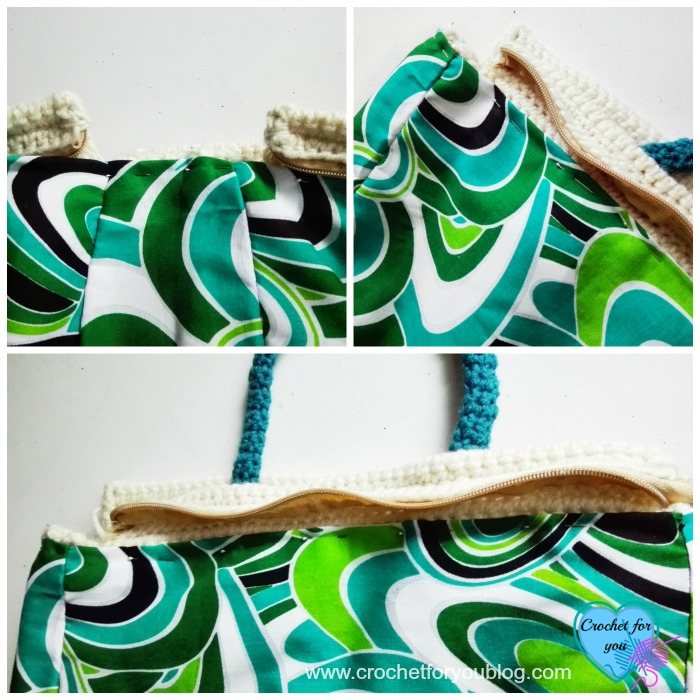
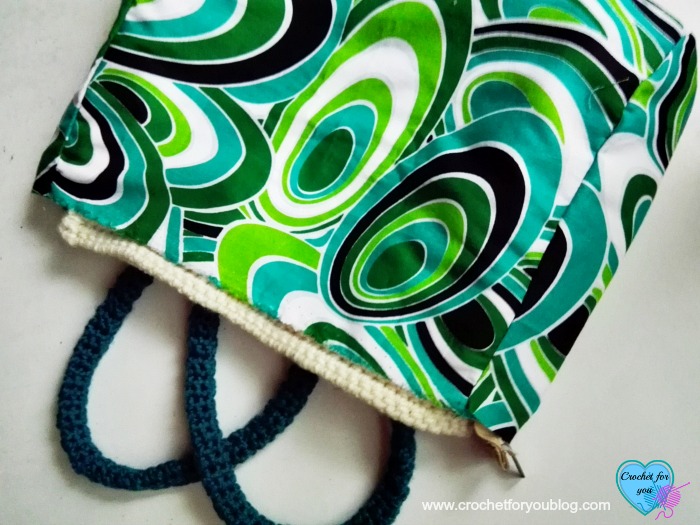
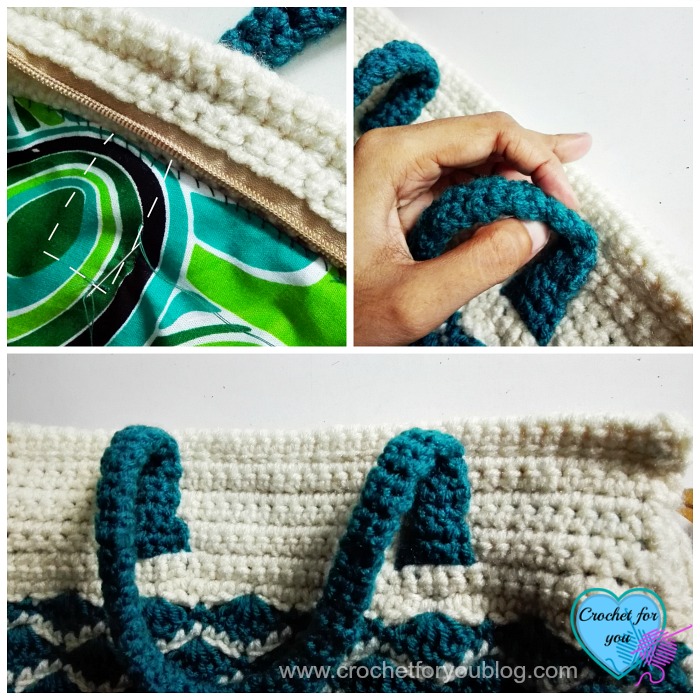
Then pin around the bag edge by folding seam. Sew lining to the bag with whip stitch.
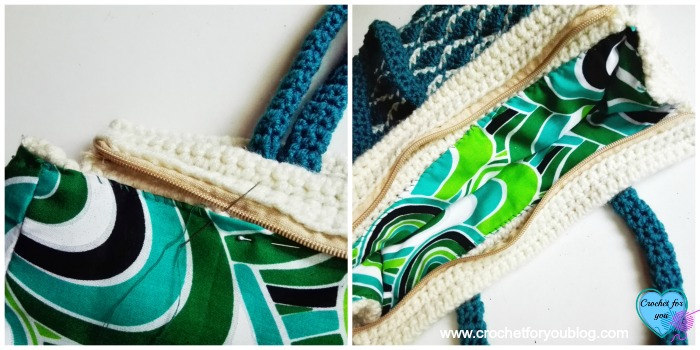
I also sewed the handles after attaching the lining to the bag. With the needle and thread, you can sew with the back stitch around the handles on the fabric from inside of the bag (see photo below) because if not, the handles get stretching and stretching more along with the crocheted bag and it’s not strong.
I hope you enjoy the CAL. I’m really happy and enjoyed too. Thank you very much for participating with me. Share your finished projects on Ravelry and Facebook event
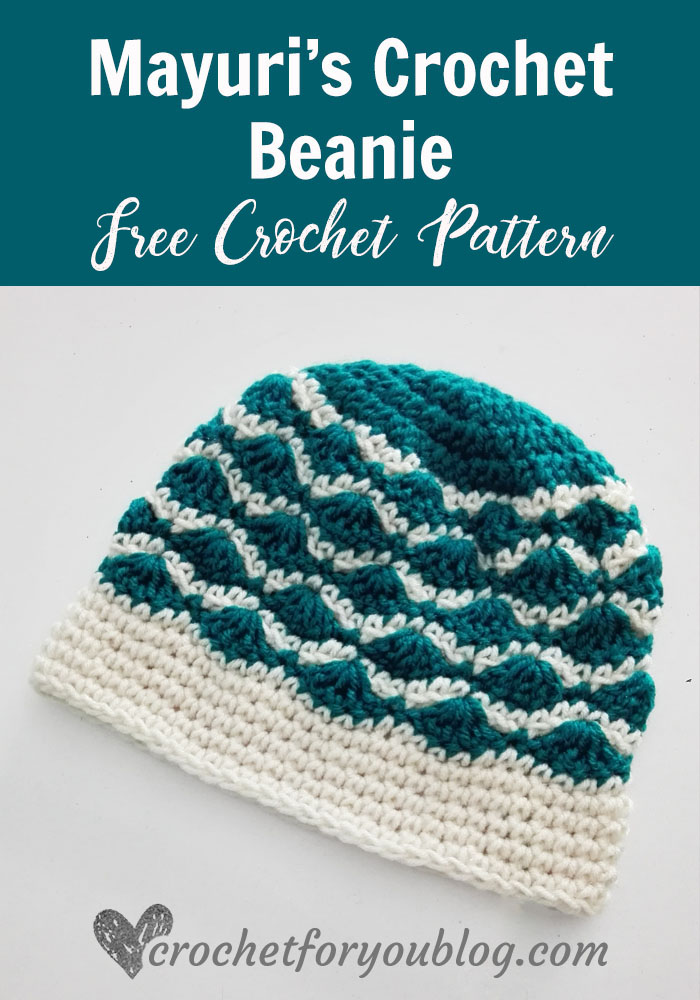
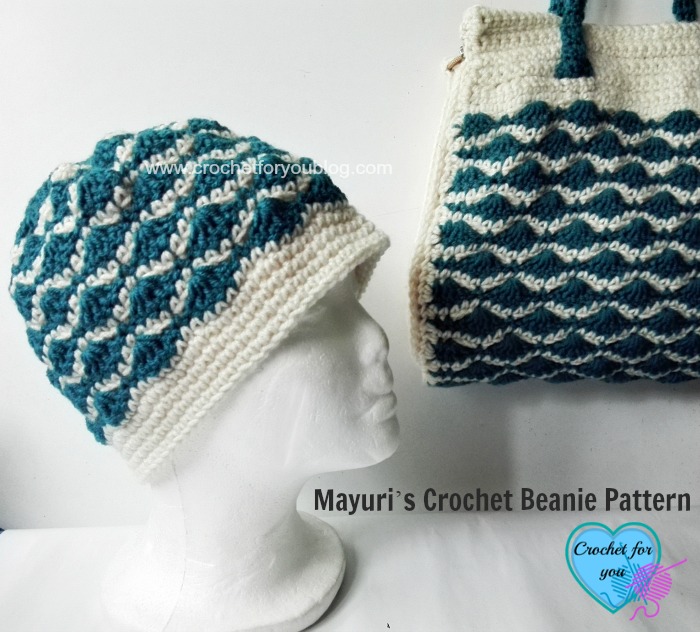
There are more yarns to start another project. So I made a beautiful beanie design with this pattern we used for the Mayuri’s Tot Bag CAL! Yay… and it turned out nicely than I imagined with the multiple sizes too. 😀 So I decided to share the pattern with you because you are also I know will definitely love it….. See you next time! 😀
Do not copy, edit, distribute or republish patterns and images in this blog in part or whole as your own. Please, share a direct link to the pattern with others and anywhere else. You are welcome to make and sell finished items using my patterns.
Visit Copyright / Terms of use page for more info.Thank you.

Can’t wait to see your finished projects. ? Share your finished projects of thispattern
Happy hooking with Crochet For You!!
Let’s connect and share facebook | google+ | pinterest | twitter | Newsletter